It can always happen to anyone. However, if you are someone who uses the keyboard quite often, you would definitely notice that your keyboard is not as clean and spic as it used to be in the past. There are several reasons that your keyboard gets dirty and dusty. Ever wondered how to clean keyboard keycaps so that they will begin looking new once again? Let us explore the options for the best way to clean keycaps on your keyboard.
Contents
How to Clean Keyboard Keycaps?
If you have been following our site for a long time and have been religiously going through all our posts, you should definitely be aware of the fact that a keyboard is dirtier than a toilet seat. So if you want o keep the dirt, dust, and illness away from your life, the best way that you would want to go with would be to ensure that your keyboard is safe and clean.
So, if you think you have one of the dirtiest keyboards ever before you, the tips on how to clean keycaps is what would help you achieve more positive results.
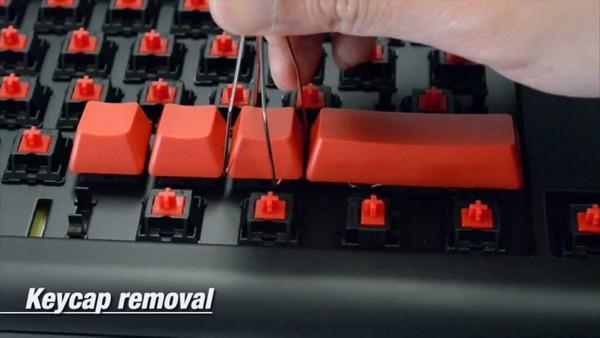
Step 1: Remove the keycaps
The first step that you are expected to opt for would be to remove the keycaps so that they can be cleaned up rather easily and comfortably. But wait – before removing the keycaps, you would want to take a photograph of the keyboard. This will help you know which keycap goes at which location. In addition, you would want to have something to help you remember the layout.
Unplug the keyboard from the computer. You may need to check for the connection mode before removing it. If you are on an older keyboard, it may be connected through the PS/2 port. The new range of keyboards connects through the USB port.
Remove the keycaps using a keycap puller. A few guides and tutorials suggest you to use sharp objects such as a screwdriver. But, it is more advisable to go with a keycap puller for removing the keycaps. If you are not much comfortable, it may be worthwhile to avoid removing these keycaps as they have stabilisers.
Step 2: Leave the keycaps to soak
Soaking the keycaps for the proper cleaning in a suitable liquid should be the next step in how to clean the keycaps. To do this, you can place the keycaps in a bowl filled with warm water. Ensure that the water is not too hot either.
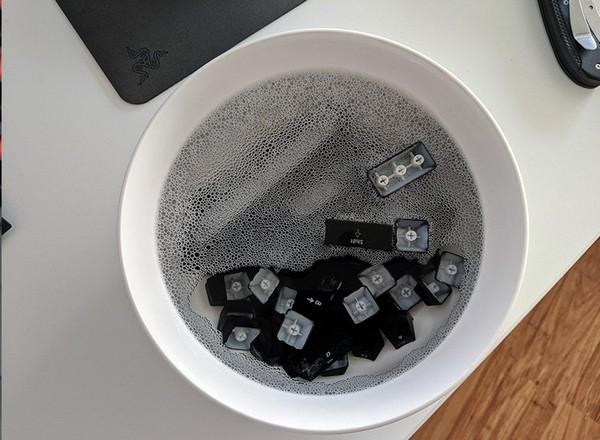
Add a few denture tablets to the bowl. You can even use the dishwasher soap for removing the oils on the keycap. Take care not to use bleach. Bleach can fade the plastic used in the manufacture of keycaps.
Let the keycaps soak for at least 6 hours. It may also be a good option to soak them overnight if your keycaps are too dirty.
Step 3: Clean the Keycaps
You can now check the keycaps to find if they need any further cleaning. Shaking them over a trash can be one of the easiest options to clean them up. You can even use a Q tip or a brush with stiff bristles to remove the stubborn gunk, if any, on the keycap.
Step 4: Clean other parts of the keyboard
While the keycaps are soaking, it may be a good idea to clean up other parts of the keyboard. Use Q tip or any other options for cleaning the other parts of the keyboard. You can even shake off the keyboard holding it upside down.
Avoid cleaning up the stems of the switch with the brushes. You may also use a handheld vacuum to remove the debris that may have stuck up.
Step 5: Clean the keycaps under the sink
The denture tablets can have a few residues on the keycaps. You will need to clean off the dishwash soap and denture tabs from the keycaps. You can wash the keycaps under the sink and ue a strainer for the purpose.
You can even make use of the toothbrush to clean of the debris from the keycaps.
Step 6: Let the keycaps air dry
Once you have ensured that you have cleaned up the keycaps rather comfortably, you will need to leave the keycaps to air dry. While drying the keycaps, ensure that the keycaps stems are facing upwards.
You may need to leave them to air dry for at least 24 hours. In any case, you would not want the keycaps to have any trace of liquid; else, they may damage the computer. Using a paper towel is not recommended as it can scratch the surface or even leave further debris on the keycaps.
Step 7: Put the keycaps back into the place
This is where the photograph you took in the first step should come in handy. First, put all the keys back into your keyboard. Then, you can simply place all the keycaps back in place by following the image.
Re-attach the keyboard to the computer, and you are good to go with the comfortable experience. Next, turn on the computer and check if your keyboard is working fine.
Preventive Cleaning of the Keyboard
Now that you have cleaned the keyboard keycaps rather efficiently, the next step would be to avoid the occurrence. A maintenance cleaning can be one of the excellent options for avoiding any possible issues in future.
Here are a few steps that can prove to be handy enough:
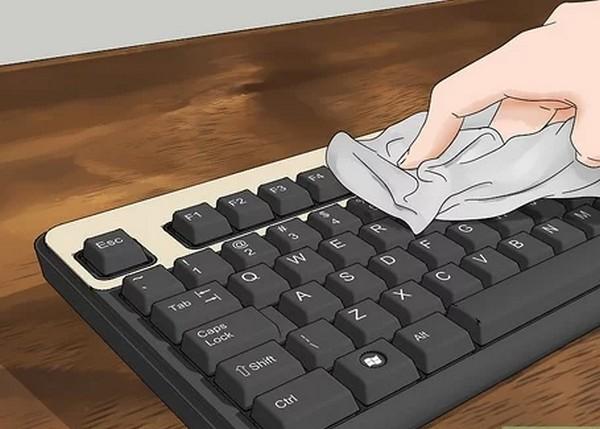
- Shake out the keyboard frequently. Turning the keyboard upside down and shake it. This will remove the dust, hair, and another crud.
- Wipe it down properly. Wiping the surface of the keyboard and the keycaps can be yet another great option to help you take care of the keyboard. You can use a paper towel dampened with water, lens wipes, or hand wipes can be a great option to help you keep the keyboard cleaner enough.
Make sure that you have avoided the following mistakes:
- Never use a dripping wet cloth or towel
- Do not use isopropyl alcohol or stronger solvents.
- Do not blow the compressed air into the keyboard. It can force the grime and grit inside your key switches.
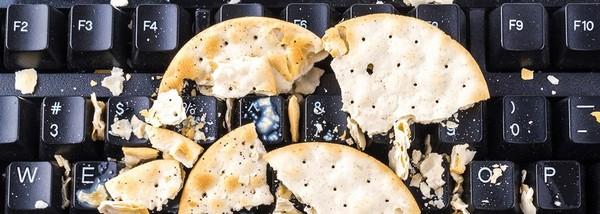
Avoid Disaster – Keep the food away when using the keyboard
Avoiding eating or drinking anything around your mechanical keyboard is extremely important and practical. This can be the very prime option to help you take care of your keyboard. The crumbs of the bread and other food items can get building up inside the keyboard.
Also, make sure that you have been following a regular maintenance cleaning to take care of your keyboard. This can be the best way to ensure that your keyboard stays safer and comfortable.
The Final Wrap Up
Keeping your keyboard clean is what would help you avoid any unwanted damage to your keyboard. Make sure that you have taken umpteen precautions in handling the keyboard and the keycaps rather effectively. The tips and tutorials outlined in the above discussion should help you get access to one of the excellent options for taking care of the keyboard.