Contents
While we have discussed how to clean a keyboard in detail, yet you would also need to remove the keyboard keys and learn how to remove keycaps without tools or with tools. The best way you can clean a keyboard would be by removing the keycaps.
Why Do You Need to Remove Your Keyboard Keycaps?
The efficient method to clean a keyboard would be by removing the keycaps before you can learn how to remove keyboard keys. Removing the keycaps lets you get a clear view of the dirt and other debris that might have been deposited inside the keycaps. Being able to remove the keycaps can prove to be useful, and once that done, you would be able to use the means such as compressed air to clean up the debris with ease.
Cleaning the keycaps can be a great option to help you improve the look of your keyboard. This would be more effective and efficient if you have light-colored keycaps. Once you remove the keyboard, it can be one of the excellent options to assist you in cleaning it up for an enhanced experience.
How to Remove Keycaps Without Tool – Membrane Keyboard
Membrane keyboards are one of the most commonly used keyboards as of today. Also referred to as the rubber dome keyboards, they depend on a rubber dome for providing you the response for a keystroke. One of the strongest factors that makes it a great option lies in the fact that they are best suited for budget-oriented consumers.
Before you can begin cleaning your membrane keyboard and removing the keycaps on the membrane keyboard, make sure that you have the following things ready with you before you can check out how to remove keycaps without tool.
- Your membrane keyboard.
- Bowls.
- Sanitiser.
- Credit card or paper clips.
Of course, the professional option to remove the keycaps will involve the use of screwdrivers and keycap pullers. However, for the sake of this post, we will be checking out how to remove keycaps without tools. That is exactly why we will be using the household items for the purpose.
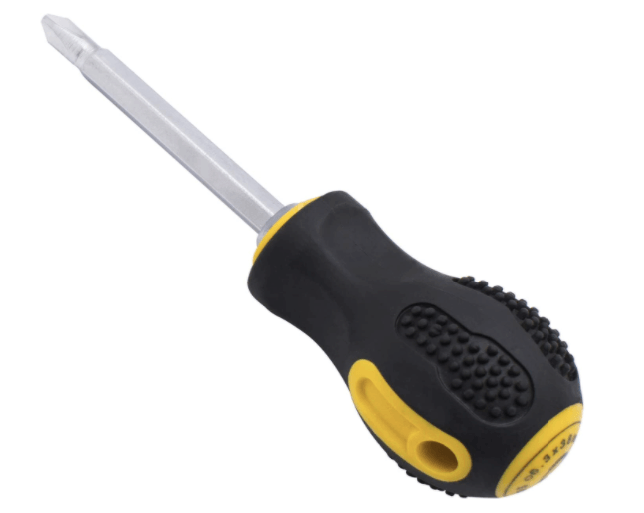
However, in the case of a membrane keyboard, you will need a screwdriver to dismantle the keycaps. We would recommend using a Philips screwdriver for the purpose. Without removing the screws on the back of your keyboard, it would not be possible to remove the keycaps on a membrane keyboard. In essence, you won’t be able to remove the keycaps on a membrane keyboard without the use of a small tool such as a screwdriver, or at least some sort of household item like a spoon!
Follow the steps here below:
- Turn your keyboard upside down.
- Use the screwdriver to remove the screws on the backside of your keyboard.
- Your keyboard should now open into two halves. If it does not, you can use a credit card or similar wedge to snap them out. The snapping sound should be an indication to prove that the two halves have been separated.
- Detach the two halves. The bottom part can be placed apart, as you would not need it for removing the keycaps.
- Take care not to touch or handle the bottom part in any way. It consists of the important circuitry that may get damaged.
- Before you remove the keycaps, it would be advisable to take a picture or keep a user manual with the image of the keycaps in place. You would not want to be sure about the placement of the keycaps once you are done with the cleaning.
- Use a credit card or a paper clip to remove the keycaps one by one. Make sure that you are not pushing it too much so that you would not end up damaging them or the components beneath them. They should pop up easily with a little force.
Once all the keycaps have been removed, you should find the dust and dirt easily. Clean them up using the normal methods used in cleaning the keyboards.
How to Remove Keycaps Without Tool – Mechanical Keyboard?
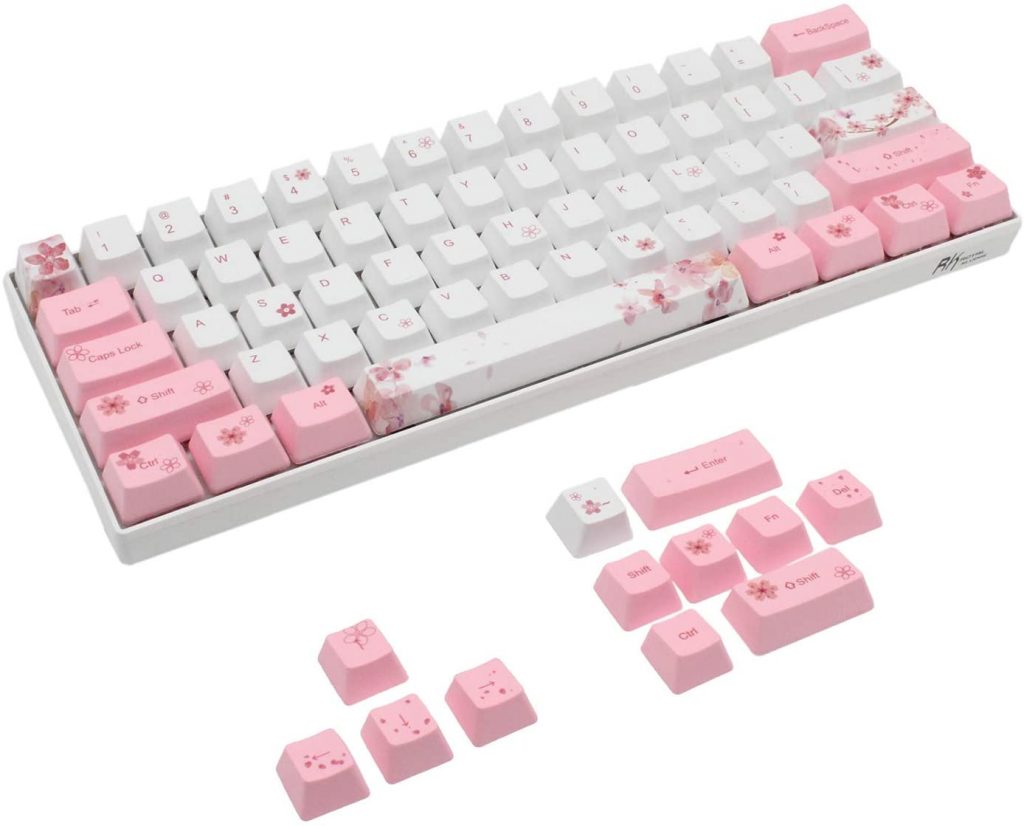
These are the prime keyboards for anyone who is checking out for the best options for a gaming keyboard or improved keyboard experience. These keyboards come with key switches that are situated below every key. The keys on the mechanical keyboards come with a keycap that has the number, letter, or symbols that you press when typing.
Below the keycap is a stem that lowers when the keycap is pressed, and then there is a housing that keeps all the things in place. When you press the keycap, the spring-loaded switch actuates the particular circuitry on the PCB and registers the keypress. Mechanical keyboards come with several advantages and have been the best in terms of gaming keyboards.
Under ideal conditions, you will need a keycap puller for removing the keycaps on a mechanical keyboard. While some keyboards come with a keycap puller, a few others may not offer it as part of the sales package.
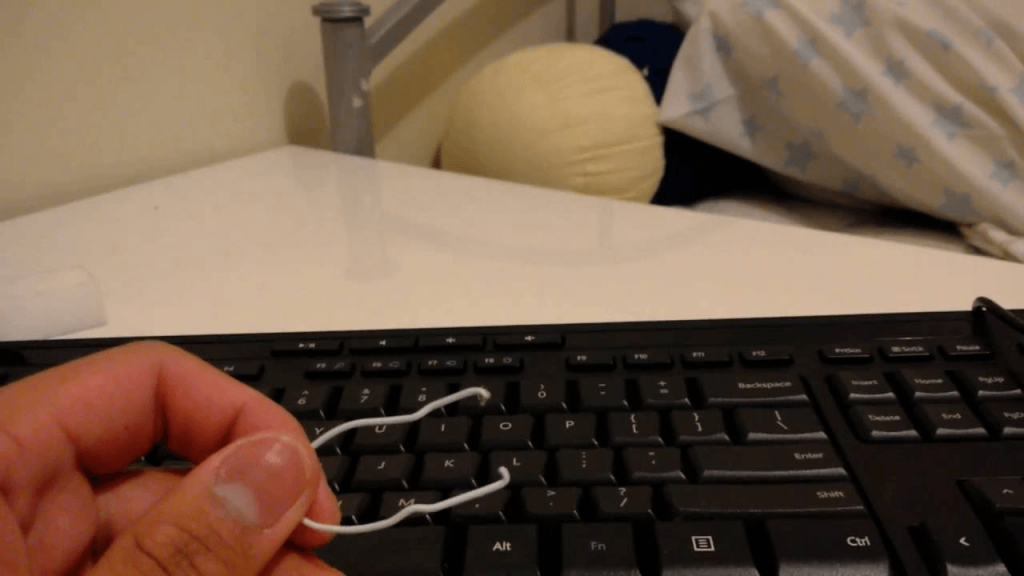
However, since we are interested in how to remove keycaps without tools on a mechanical keyboard, we will use a paper clip or a credit card or similar wedge.
Follow the steps here below to find how to remove keycaps without tool
- Take the keyboard you want to remove the keycaps on to a clean and dry place on your working table.
- Use a bent paper clip or a credit card to remove the keycaps.
- You can even use the items such as a house key, a knife, or You may use a PV porthole if you have one from an old PC chassis. The idea is to apply an equal pressure in the upward direction on the opposite sides of the key.
- Pull up the keycap by applying equal pressure. Make sure you are not bending the keycap in any one single direction.
- The keycap should dismantle itself from the switch below and come out.
- The larger or longer keys will need extra care as they come with additional support, which may get broken during the removal process.
If your keyboard has LED lights, it may be necessary to take extra care not to damage them. It would be advisable to turn off the light and plug it off.
Yet another advantage offered by the mechanical keyboard is that you can clean up only a particular set of keys if you do not feel the need to remove all the keycaps. This can one of the practical solutions if you have any sticky keys that need to be addressed.
How to Clean Mechanical Keyboards Keys?
Now that you have learned how to remove mechanical keyboard keys, cleaning a mechanical keyboard can be one of the best options for safeguarding the mechanical keyboard. If you take due care of the keyboard, the mechanical keyboard can last up to 10 to 15 years in general.
There are several options you can employ to clean up the keyboard. A few of the options can include the following. While our purpose in compiling this information has been to understand how to remove keycaps without tools, the knowledge of how to clean a mechanical keyboard can prove to be quite effective. Before that, make sure you have learned how to remove mechanical keyboard keys.
-
Periodical Cleaning
Cleaning a keyboard at regular intervals can be a great option and can be helpful in achieving the best standards. It would help if you took care to clean up the keyboard at regular intervals. This can be helpful in preventing the accumulation of grime and dirt.
- Unplug your keyboard.
- Use a vacuum brush to clean up the dust from the keyboard.
- Press the vacuum brush against the keycaps and activate the keycaps in the process. It is recommended to use small handheld vacuum brushes.
- Wipe off the entire keyboard with the slightly damp microfibre cloth.
- Dry it with another cloth. Make sure you do not use the paper cloth as it would leave debris.
Never use the canned air. It can be too cold and can cause condensation in the parts inside the keyboard. You can use canned air only when you are cleaning up the keyboard after removing the keycaps.
-
Deferred Cleaning
This will involve removing the keycaps as outlined in the above discussion. This can be useful in addressing the grime and dust that may be stubborn, which may not work even after the regular cleaning procedure.
- Unplug your keyboard.
- Remove the keycaps as outlined in the tutorial discussed above.
- Make sure that the keycaps on the keys such as Shift, Spacebar, and Enter may have support fixtures and may not be easy to remove. If you cannot remove them, you can just wipe them off instead of removing them.
- Clean the keycaps by collecting them in a bowl filled with hot water and leave them for a while.
- Remove the dust and dirt on the switches and around them with canned air and dry cloth.
- You can even vacuum the plate taking care not to damage them.
What Are the Benefits Offered by Cleaning the Keyboard Regularly?
Cleaning your mechanical keyboard can be exceptionally beneficial in more ways than one. In fact, a keyboard has been considered to be one of the most unclean elements and may make you sick. It is extremely essential to keep your keyboards cleaner to ensure the unwanted effects of the keyboards. Now that you have learned how to remove keys from mechanical keyboard.
Some of the advantages of cleaning the keyboard can include:
- Proper cleaning can be helpful in keeping your keyboard extremely cleaner and stays looking near new.
- It can be helpful in the untimely breakdown and overheating issues.
- Cleaning removes the dust and other bacteria from the keyboard.
- It removes unwanted issues such as sticky keys.
A few Don’ts When Cleaning a Mechanical Keyboard
While cleaning up a keyboard can be one of the excellent options for improving the life of your keyboard. However, it is recommended that you should check out a few Don’ts to ensure that you are not damaging your keyboard instead of cleaning it.
Some of the don’ts in checking out how to remove mechanical keyboard keys and clean them can include:
- Never apply a high-pressure spray as it can damage the rust springs and the PCB
- If you have used any liquid cleaner, ensure that you have not reconnected the keyboard components until it dries up.
- Never use a sticky compound such as jelly that is observed to be too sticky.
And finally, do not eat or drink when you are working on a keyboard. The spills on the keyboard and the food crumbs can prove to be extremely difficult to handle. In fact, it can even be an unhealthy practice as the keyboard can contain bacteria and may reach your body.
Conclusion
Well, while cleaning your mechanical keyboard is one of the most important habits, you should take care to understand how to remove keycaps without tool, or even with a tool. It may be important to notice that while it is easy to learn things through a tutorial like this, following a proper procedure is the key to the successful removal of the keycaps. Make sure that you have understood this tutorial in its complete essence before moving ahead to remove the keycaps and clean your keyboard.
The tutorial here should ideally help you how to remove keys from a Mechanical Keyboard and how to safely remove keys from a keyboard.