Learning to edit images well is not only about knowing which sliders to move. It is also about protecting your original file, keeping your workflow flexible, and making changes that can be revised later. That is where an adjustment layer becomes one of the most important tools in modern photo editing and graphic design.
TLDR: An adjustment layer is a special editing layer that changes the look of the layers beneath it without permanently altering the original image. It is a core part of non-destructive editing, meaning you can modify, hide, mask, or delete the adjustment at any time. Beginners should use adjustment layers for common edits such as brightness, contrast, color balance, saturation, and black and white conversions.
What Is an Adjustment Layer?
An adjustment layer is a separate layer that applies visual changes to the layer or layers below it. Instead of directly changing the pixels in your photo, it sits above the image and tells the editing software how the image should appear. This makes it different from direct editing, where changes are applied permanently to the original layer.
For example, if you increase contrast directly on a photo layer, the pixels are changed. If you later decide the effect is too strong, you may have limited options unless you kept a backup or used undo immediately. With an adjustment layer, you can return at any time, lower the intensity, change the settings, hide the effect, or remove it completely.
Adjustment layers are commonly used in software such as Adobe Photoshop, Affinity Photo, Photopea, and other professional image editors. While the interface may differ, the basic idea is the same: edit the appearance of an image without damaging the original file.
Why Adjustment Layers Matter
The main reason adjustment layers are important is that they support a non-destructive workflow. Non-destructive editing means your original image remains intact. This is especially valuable when working on client projects, important photographs, product images, or any design that may need future revisions.
Non-destructive editing helps you work more carefully and professionally. It allows you to experiment without fear. You can try a dramatic color grade, test a black and white version, or adjust the lighting while knowing that the original photo is still safe underneath.
Adjustment layers also make your editing process easier to review. When your file contains separate layers for exposure, color, contrast, and special effects, you can understand exactly what changes were made. This is far more organized than applying many permanent edits directly to one image layer.
Common Types of Adjustment Layers
Most editing programs offer several types of adjustment layers. The names may vary slightly, but the following are among the most common:
- Brightness and Contrast: Used to make an image lighter or darker and to control the difference between light and dark areas.
- Levels: Adjusts shadows, midtones, and highlights using tonal range controls. It is useful for correcting flat or washed-out images.
- Curves: A powerful tool for controlling brightness and contrast with precision. Curves can also be used for advanced color correction.
- Hue and Saturation: Changes the intensity of colors and shifts hues. It is often used to make colors more vivid or more restrained.
- Color Balance: Adjusts the color tones in shadows, midtones, and highlights. This is useful for correcting unwanted color casts.
- Black and White: Converts an image to monochrome while allowing control over how individual colors translate into gray tones.
- Gradient Map: Maps image tones to selected colors, often used for stylized color grading.
- Photo Filter: Adds a warming or cooling effect, similar to placing a colored filter over a camera lens.
How Adjustment Layers Work
Think of an adjustment layer as a transparent sheet placed over a printed photograph. The sheet can change how the image looks, but the photograph itself remains untouched. If you remove the sheet, the photo returns to its original appearance.
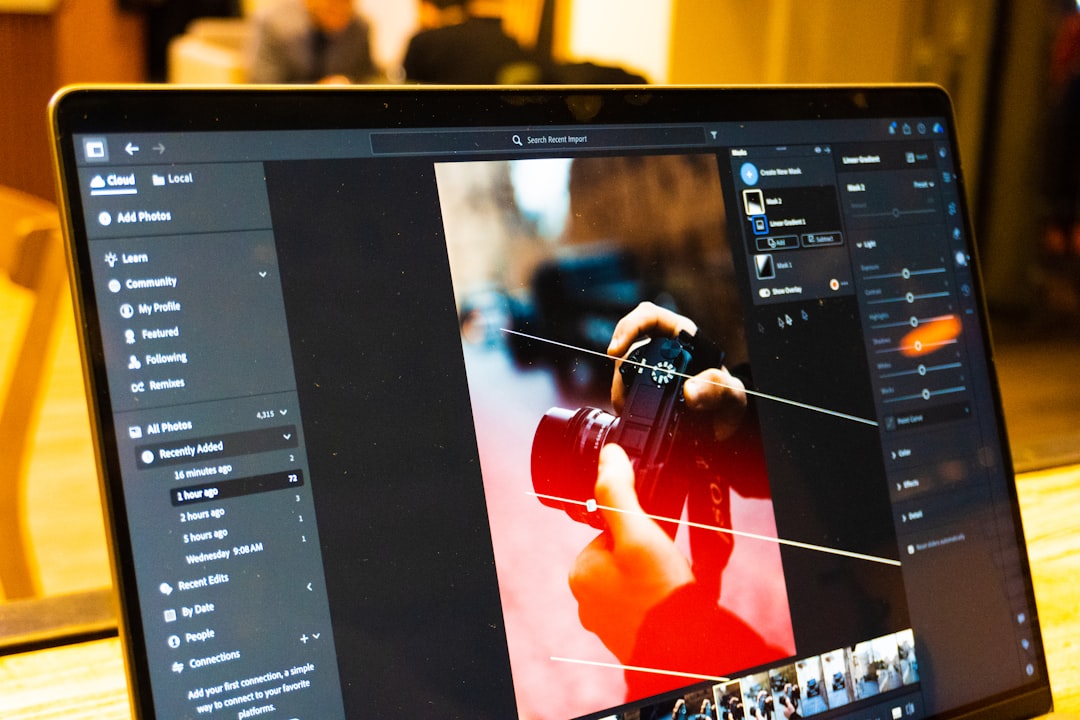
In a layer-based editor, adjustment layers usually affect all visible layers underneath them. If you place a brightness adjustment at the top of your layer stack, it may brighten everything below. If you place it directly above one image layer and clip it to that layer, it may affect only that specific image.
This layer order is important. A color adjustment placed above several layers can create a unified look across an entire design. A targeted adjustment placed above one layer can correct only a single object, portrait, or background element.
Adjustment Layers and Masks
One of the most useful features of adjustment layers is the ability to use a layer mask. A mask controls where the adjustment is visible. In many editors, white areas of a mask reveal the adjustment, black areas hide it, and gray areas partially reveal it.
For example, suppose you have a portrait where the face is slightly too dark, but the background looks fine. Instead of brightening the entire image, you can create a brightness adjustment layer and use a mask so the effect appears only on the face. This gives you a precise correction without damaging the original portrait.
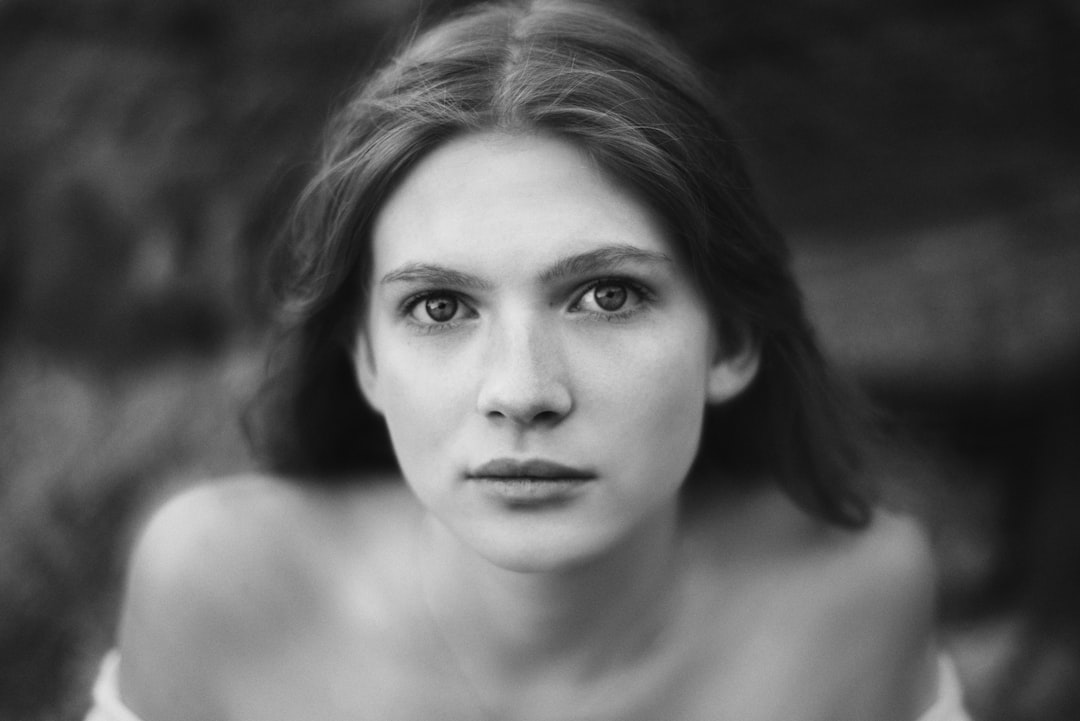
Masks are essential for professional editing because they allow local changes. You can darken a sky, brighten eyes, reduce saturation in a distracting background, or apply color grading only to selected parts of an image. This level of control is one reason adjustment layers are preferred over direct adjustments.
Practical Example for Beginners
Imagine you open a landscape photograph that looks dull. The sky is pale, the foreground lacks contrast, and the colors feel weak. A beginner might go directly to the image menu and apply permanent brightness or saturation changes. A better approach is to build the edit with adjustment layers.
- Add a Levels or Curves adjustment layer to improve overall contrast.
- Add a Hue and Saturation adjustment layer to increase color intensity slightly.
- Add a Color Balance adjustment layer to make the highlights warmer or the shadows cooler.
- Use masks to limit certain effects, such as darkening only the sky.
- Lower opacity if any adjustment looks too strong.
This workflow gives you full control. If the colors become too intense, you can reduce the saturation adjustment. If the sky becomes too dark, you can edit the mask or lower the layer opacity. Nothing forces you to start over.
Key Benefits of Adjustment Layers
Adjustment layers offer several practical advantages, especially for beginners who want to develop reliable editing habits:
- They protect the original image. Your base photo remains unchanged, which reduces the risk of permanent mistakes.
- They are editable. You can reopen the settings and refine them later.
- They can be hidden or deleted. Turning an adjustment on and off makes it easy to compare before and after results.
- They support masking. You can apply edits only where needed.
- They improve organization. Separate layers make complex edits easier to understand.
- They encourage experimentation. You can test creative looks without committing permanently.
Common Mistakes to Avoid
Although adjustment layers are beginner-friendly, there are a few mistakes to watch for. One common error is using too many adjustments without naming or organizing them. A file with many unnamed layers can become confusing. It is a good habit to rename layers clearly, such as “Sky darkening” or “Warm color grade.”
Another mistake is applying adjustments too strongly. Beginners often increase contrast, clarity, or saturation more than necessary. A serious, professional edit usually looks controlled rather than excessive. Use the opacity slider to reduce an effect if it feels heavy.
It is also important to check layer order. If an adjustment appears to affect the wrong part of your design, it may be placed too high or too low in the layer stack. Learning how layers interact will make your edits more predictable.
Final Thoughts
An adjustment layer is a simple concept with powerful results. It lets you change brightness, contrast, color, and tone while preserving the original image. For beginners, it is one of the best tools to learn early because it builds safe, flexible, and professional editing habits.
If you want to improve your workflow, start using adjustment layers instead of applying permanent changes directly to your image. Combine them with masks, organize them clearly, and adjust their opacity when needed. Over time, this approach will help you edit with more confidence, precision, and control.