A LUT, or Look Up Table, is a file that remaps color and brightness values to create a technical conversion or a stylized visual look in video editing. In plain terms, it tells your software, camera monitor, or grading system: “When you see this color value, show that one instead.” LUTs are used to convert flat footage into a normal viewing space, match cameras, preview a grade on set, or apply a cinematic look faster.
TLDR: A LUT is a color translation table used to change how video looks, usually for correction, grading, or monitoring. For example, a filmmaker shooting in Sony S Log3 may apply a Rec 709 LUT so the footage no longer looks washed out. In a 90 shot edit, a good technical LUT can cut first pass correction time by 30% to 50%, but it will not fix bad exposure or poor white balance. Think of a LUT as a reliable starting point, not a finished grade.
What Does LUT Mean?
LUT stands for Look Up Table. It is a preset color map. Each input value is assigned a new output value. If a pixel has a certain red, green, and blue value, the LUT tells the system what those values should become.
This sounds technical because it is. Still, the basic idea is simple. A LUT changes color data in a predictable way. That is why editors, colorists, DITs, and cinematographers use them across many parts of production.
A LUT can make flat log footage look normal. It can push shadows toward teal and highlights toward warm amber. It can reduce contrast, increase saturation, or simulate a film print. It can also ruin footage fast if used carelessly. Honestly, it feels like some editing apps encourage people to stack LUTs like filters, then leave them wondering why skin tones look orange and skies break apart.
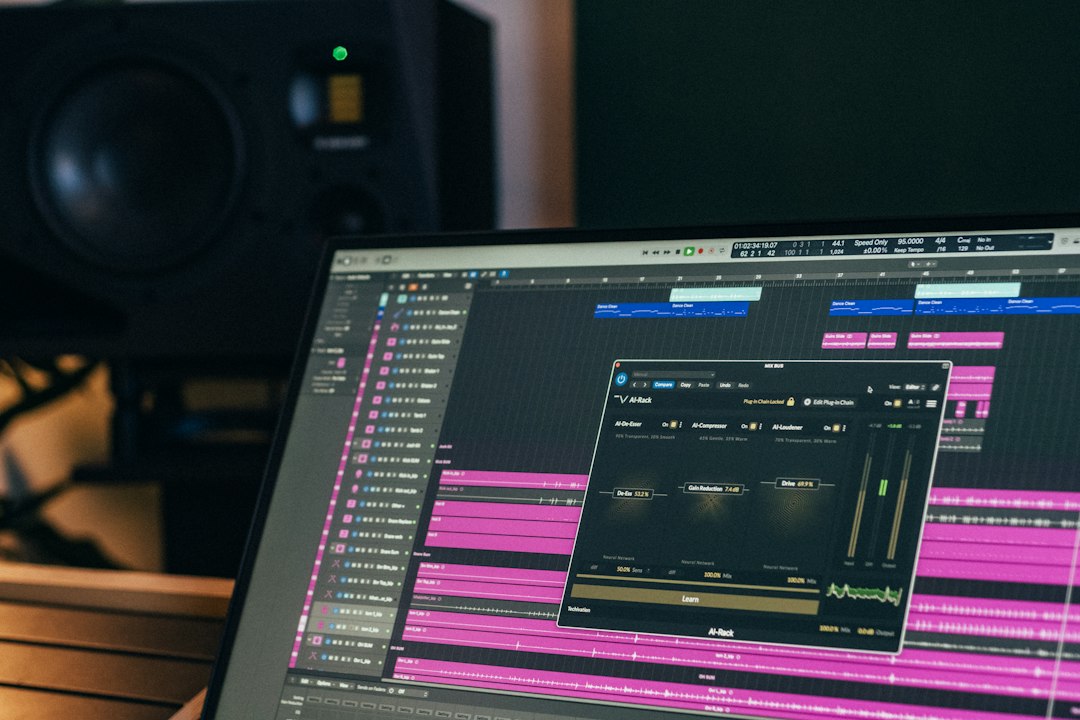
How LUTs Work in Video Editing
Most video files are built from RGB values. A LUT reads those values and changes them based on a fixed table. It does not “understand” the shot. It does not know if the image is a face, a sunset, or a gray card. It simply applies the same rule to every matching value.
That fixed behavior is both the strength and weakness of LUTs. They are fast, consistent, and easy to share. But they are not intelligent corrections.
- If the footage is underexposed, the LUT may crush shadows.
- If the white balance is wrong, the LUT may exaggerate the color cast.
- If the LUT was built for another camera profile, the image may shift in odd ways.
- If the project uses a different color space, results may be inaccurate.
This is why professional workflows place LUTs inside a controlled color pipeline. The order matters. Input color space, exposure, white balance, LUT placement, and final output all affect the result.
1D LUTs vs 3D LUTs
There are two common LUT types: 1D LUTs and 3D LUTs.
1D LUTs adjust each color channel separately. They are useful for tone curves, gamma changes, and simple brightness mapping. A 1D LUT can change contrast or raise shadows, but it has limited control over complex color relationships.
3D LUTs map red, green, and blue together in a three dimensional color cube. They can create far more refined changes. Most creative LUTs used for film looks, commercial grades, and camera conversions are 3D LUTs.
Common file formats include .cube, .3dl, and .lut. The .cube format is widely supported in DaVinci Resolve, Adobe Premiere Pro, Final Cut Pro, Baselight, and many monitors.
Technical LUTs and Creative LUTs
Not all LUTs do the same job. A serious workflow usually separates LUTs into two groups.
Technical LUTs
Technical LUTs convert footage from one color space or gamma curve to another. A common example is converting log footage to Rec 709 for standard viewing. This is often called a camera transform or conversion LUT.
Examples include:
- Sony S Log3 to Rec 709
- Canon Log 2 to Rec 709
- ARRI LogC to Rec 709
- Panasonic V Log to Rec 709
These LUTs are not meant to create an aggressive style. Their job is to place footage into a usable viewing range. After that, you still correct exposure, contrast, white balance, and shot matching.
Creative LUTs
Creative LUTs create a mood. They may mimic Kodak print stock, bleach bypass, warm commercial skin tones, cool crime drama shadows, or soft pastel highlights.
Creative LUTs work best after the footage is technically sound. Apply them to broken footage and they will usually make the problems louder. Expect to waste time on fixes if you drop a heavy cinematic LUT onto mixed camera footage without balancing the shots first.
LUTs in Color Correction
Color correction is about making footage accurate and consistent. It deals with exposure, contrast, white balance, noise, saturation, and matching shots within a scene.
A LUT can help in this stage, especially when working with log footage. It gives the editor or colorist a normal image to judge. Without a viewing transform, log footage looks flat, gray, and low contrast. That flat image contains useful color data, but it is not meant to be viewed as the final look.
A common correction order looks like this:
- Set the correct color management or input transform.
- Balance exposure and white balance.
- Apply or preview a technical LUT if needed.
- Match shots across the scene.
- Add creative grading choices.
- Prepare the final output for Rec 709, HDR, cinema, or web delivery.
LUTs in Color Grading
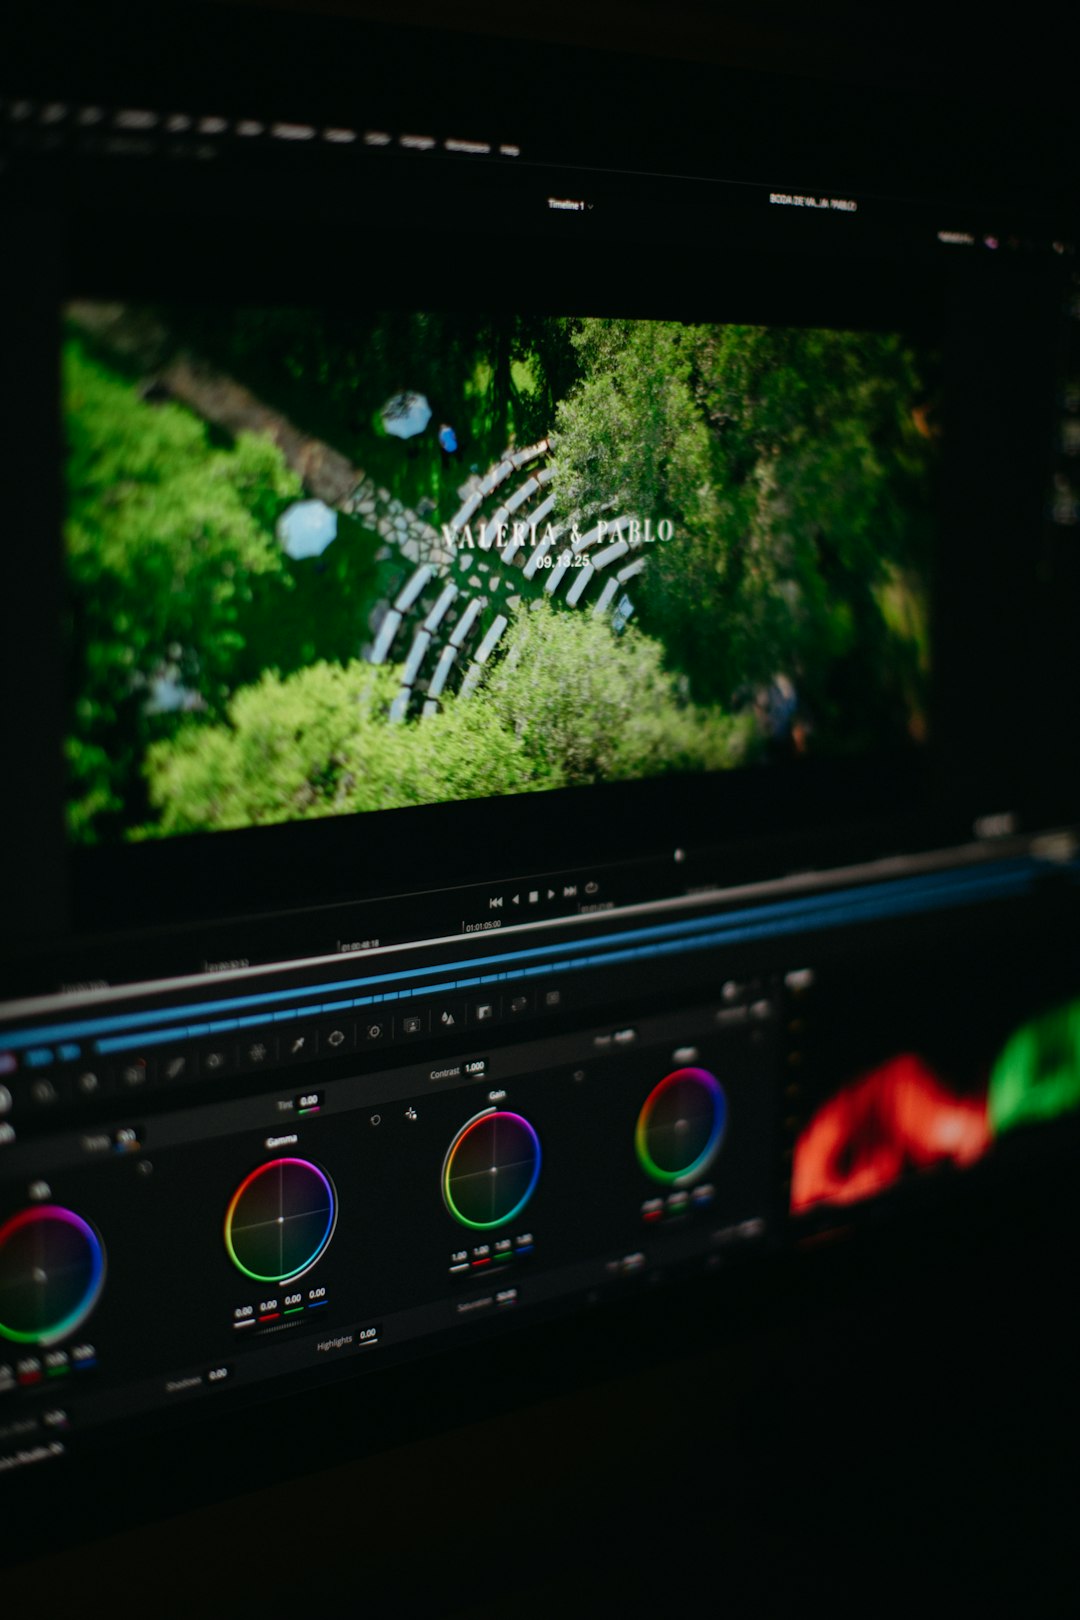
Color grading is the creative stage. This is where the image gets its tone, emotion, and visual identity. LUTs can speed this up, but they should not replace judgment.
A cinematic LUT might add deeper blacks, softer highlight rolloff, lower saturation in greens, warmer skin tones, and cooler shadows. That can be useful. But each shot still needs adjustment. A close up, a wide shot, and a night exterior will not react the same way.
Good colorists often reduce LUT strength, place corrections before and after the LUT, or rebuild the look manually using curves, hue tools, and printer light style controls. The LUT becomes a guide, not a shortcut.
LUTs in Cinematic Workflows
In higher end workflows, LUTs start before post production. A cinematographer may build a show LUT during camera tests. That LUT is loaded into on set monitors so the director, DP, client, and focus puller can see an image close to the intended final style.
The camera still records log or raw data. The LUT is only used for monitoring, unless the production chooses to bake it into the footage. Baking in a LUT means the look becomes part of the recorded image. That can save time, but it reduces flexibility later.
A typical cinematic workflow may include:
- Camera test: Compare lenses, exposure, skin tones, and lighting with a test LUT.
- On set monitoring: Use the show LUT on calibrated monitors.
- Dailies: Apply the LUT for review files sent to producers or editors.
- Editorial: Cut with LUT based viewing files so scenes feel closer to final.
- Final grade: Recreate, refine, or replace the LUT under controlled conditions.
Common LUT Mistakes
The biggest mistake is treating LUTs like magic filters. They are not. A LUT cannot recover clipped highlights. It cannot clean noisy shadows. It cannot make 8 bit footage behave like 12 bit raw footage.
Another common issue is using the wrong LUT for the camera profile. A LUT built for ARRI LogC will not behave correctly on Sony S Log3. It may still “look cool” for a moment, but the color math is wrong.
Also watch out for LUT intensity. Many looks are too strong at 100%. Reducing opacity or mixing strength to 20% to 60% often gives a more controlled result.
Best Practices for Using LUTs
- Use technical LUTs only for the camera profile they were made for.
- Correct exposure and white balance before judging the look.
- Use scopes, not just your eyes. Waveform, vectorscope, and RGB parade matter.
- Test LUTs on skin tones. Bad skin color is easy to spot and hard to ignore.
- Keep a clean version of the grade. Do not bake destructive choices too early.
- Calibrate your monitor. A LUT cannot fix an inaccurate screen.
Final Takeaway
A LUT is a practical color mapping tool used to convert, preview, and style video footage. It is useful in editing, color correction, color grading, and full cinematic workflows. The best results come from using the right LUT for the right color space, then adjusting the image with care. Use LUTs as a controlled starting point, not as a replacement for proper grading.