Portrait retouching can feel like makeup, magic, and painting all at once. One tiny tool can do a lot of the heavy lifting. That tool is the Blur Brush. Used well, it can soften skin, smooth colors, create dreamy light, and help digital paintings feel rich and polished.
TLDR: The Blur Brush is great for softening harsh details and blending colors. Use it gently, or your portrait may look like a melted candle. Keep important details sharp, like eyes, lips, hair edges, and jewelry. Think of blur as a soft whisper, not a loud foghorn.
What Is the Blur Brush?
The Blur Brush is a tool that softens pixels. It blends nearby colors and reduces sharp edges. In simple words, it makes things look smoother.
It is often used in portrait retouching. It can calm rough skin texture, soften shadows, and fix tiny distractions. In digital painting, it helps blend paint strokes and create soft transitions.
But be careful. The Blur Brush is powerful. Too much blur can remove life from a face. Skin may lose pores. Hair may turn into soup. Eyes may look sleepy. Nobody wants soup hair.
The Golden Rule: Blur Less Than You Think
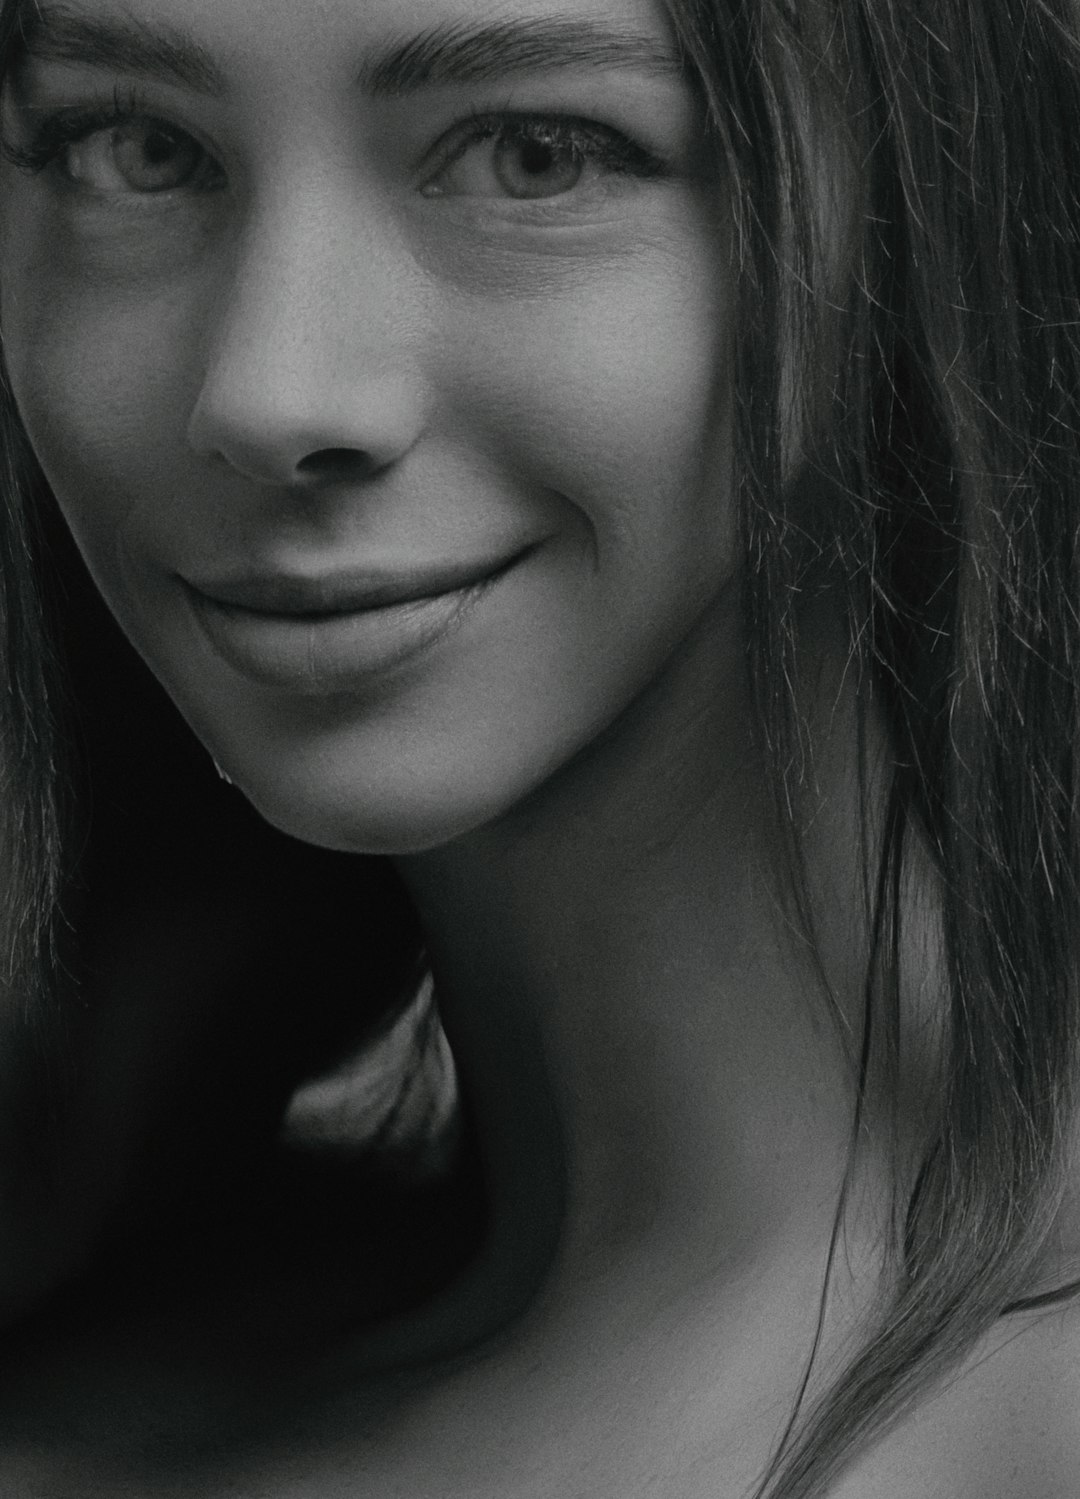
The best blur is often hard to notice. If someone says, “Nice retouch,” you may have gone too far. If they say, “Wow, this photo looks clean,” you are doing great.
Use a low strength setting if your software has one. Try something gentle, like 5% to 20%. Build up slowly. Make a few soft passes instead of one giant smear.
Also, zoom out often. A portrait may look messy at 300%. But at normal size, it may already look fine. Do not retouch every pore like it owes you money.
Where to Use the Blur Brush in Portraits
The Blur Brush works best in places where smoothness feels natural. These areas include:
- Cheeks: Great for softening patchy skin tones.
- Forehead: Useful for reducing tiny bumps or shine.
- Neck: Helps blend uneven shadows.
- Background: Makes the face stand out more.
- Makeup edges: Softens harsh blush or contour lines.
But some areas should stay sharp. These are the stars of the face. Keep them crisp:
- Eyes: Sharp eyes make a portrait feel alive.
- Eyelashes: Keep them defined and delicate.
- Lips: Preserve texture and shape.
- Nostrils: Yes, really. Blurry nostrils look strange.
- Hairline: Avoid making it look painted on.
Technique 1: Soft Skin Without Plastic Skin
This is the classic use. You want smooth skin, but not fake skin. Start by using a small brush. Set the strength low. Gently brush over uneven areas.
Follow the natural shape of the face. Move along the cheek curve. Move across the forehead. Do not scrub in circles like you are cleaning a pan.
Leave some texture behind. Real skin has pores. Real skin has tiny lines. These details help the person look human. A portrait should not look like a wax statue unless the goal is “haunted museum.”
Technique 2: Blur the Background, Not the Person
A soft background can make a portrait pop. It also hides clutter. Goodbye, random chair. Goodbye, laundry pile. You were never invited.
Use the Blur Brush around the subject, but be careful near the edges. If you blur too close to the face or hair, the subject may look cut out or fuzzy.
Work from the outside in. Use a larger brush for big background areas. Use a smaller brush near shoulders, hair, and clothing. Keep the subject sharp. This adds depth and focus.
Technique 3: Blend Makeup Like a Pro
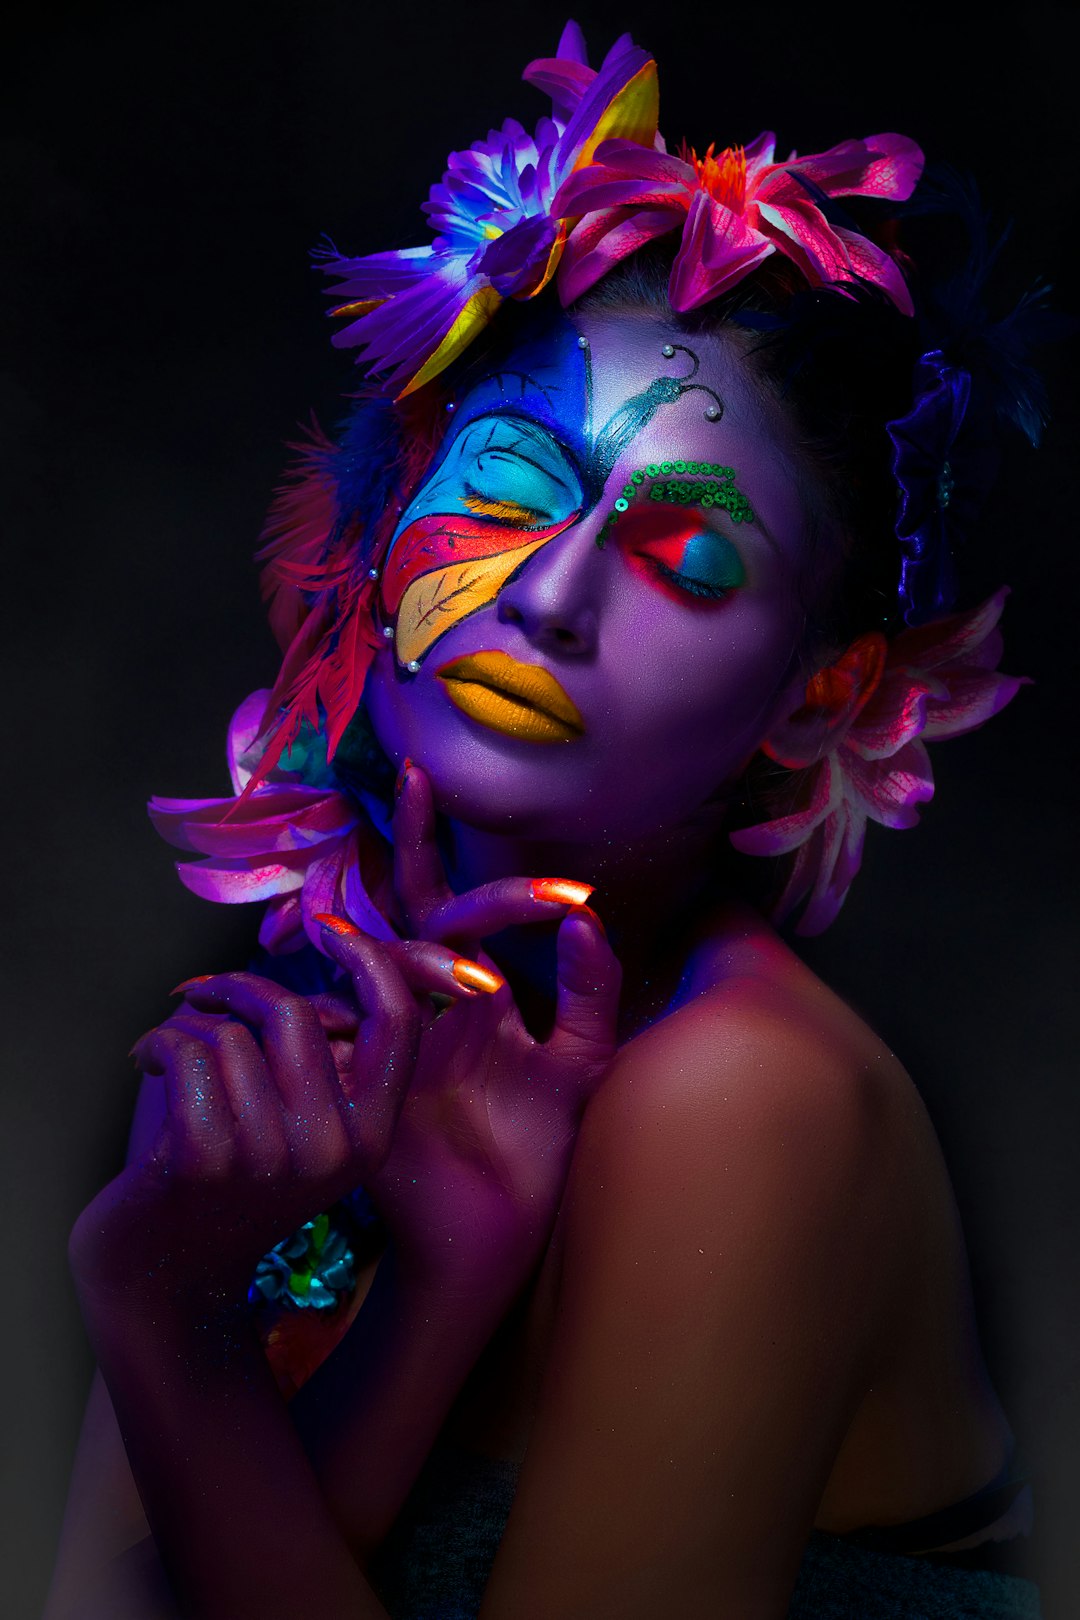
Digital makeup can be fun. You can add blush, eyeshadow, contour, or soft lip color. But painted makeup can look harsh at first. The Blur Brush helps it settle into the skin.
Paint the makeup on a separate layer if you can. Then blur the edges. This makes the color fade naturally. It can turn a rough stripe into a soft glow.
Try this simple process:
- Add color with a soft brush.
- Lower the layer opacity.
- Use the Blur Brush on the edges.
- Keep the center slightly stronger.
- Zoom out and check the full face.
This works nicely for blush on cheeks, warm color on eyelids, and subtle shine on lips.
Technique 4: Smooth Color in Digital Painting
In digital painting, the Blur Brush can help blend skin tones. Faces have many colors. Pink, gold, brown, blue, green, and purple can all appear in skin. That sounds wild, but it is true.
Paint your main colors first. Then use the Blur Brush to soften transitions. Blend the cheek into the jaw. Blend the shadow under the nose. Blend the warm light on the forehead.
Do not blur everything equally. Some brush strokes should stay visible. They add style. A painting with no texture can feel flat. Think of the Blur Brush as a smoothie maker. Good for fruit. Bad for the whole dinner.
Technique 5: Create Dreamy Light
The Blur Brush is wonderful for soft light effects. You can use it to make glowing highlights and gentle shadows.
For a dreamy look, paint a pale color where light hits the face. Try the cheekbone, nose bridge, forehead, or shoulder. Then blur it softly. Lower the opacity if it feels too bright.
You can also blur shadows. This is useful for romantic portraits, fantasy art, and soft editorial looks. Sharp shadows feel dramatic. Soft shadows feel calm.
Technique 6: Fix Tiny Distractions
Sometimes a portrait has small distractions. A stray shadow. A harsh wrinkle in fabric. A bright spot on the skin. The Blur Brush can quiet these down.
Do not use it to remove big objects. That is not its job. For big fixes, use healing, cloning, or painting tools. The Blur Brush is better for smoothing and blending.
Use it like a soft eraser for visual noise. If something pulls attention away from the face, blur it a little. The viewer’s eye will return to the subject.
Common Blur Brush Mistakes
Even friendly tools can cause chaos. Watch out for these common mistakes:
- Too much strength: This creates smudges and fake skin.
- Blurring the eyes: This makes the portrait look dull.
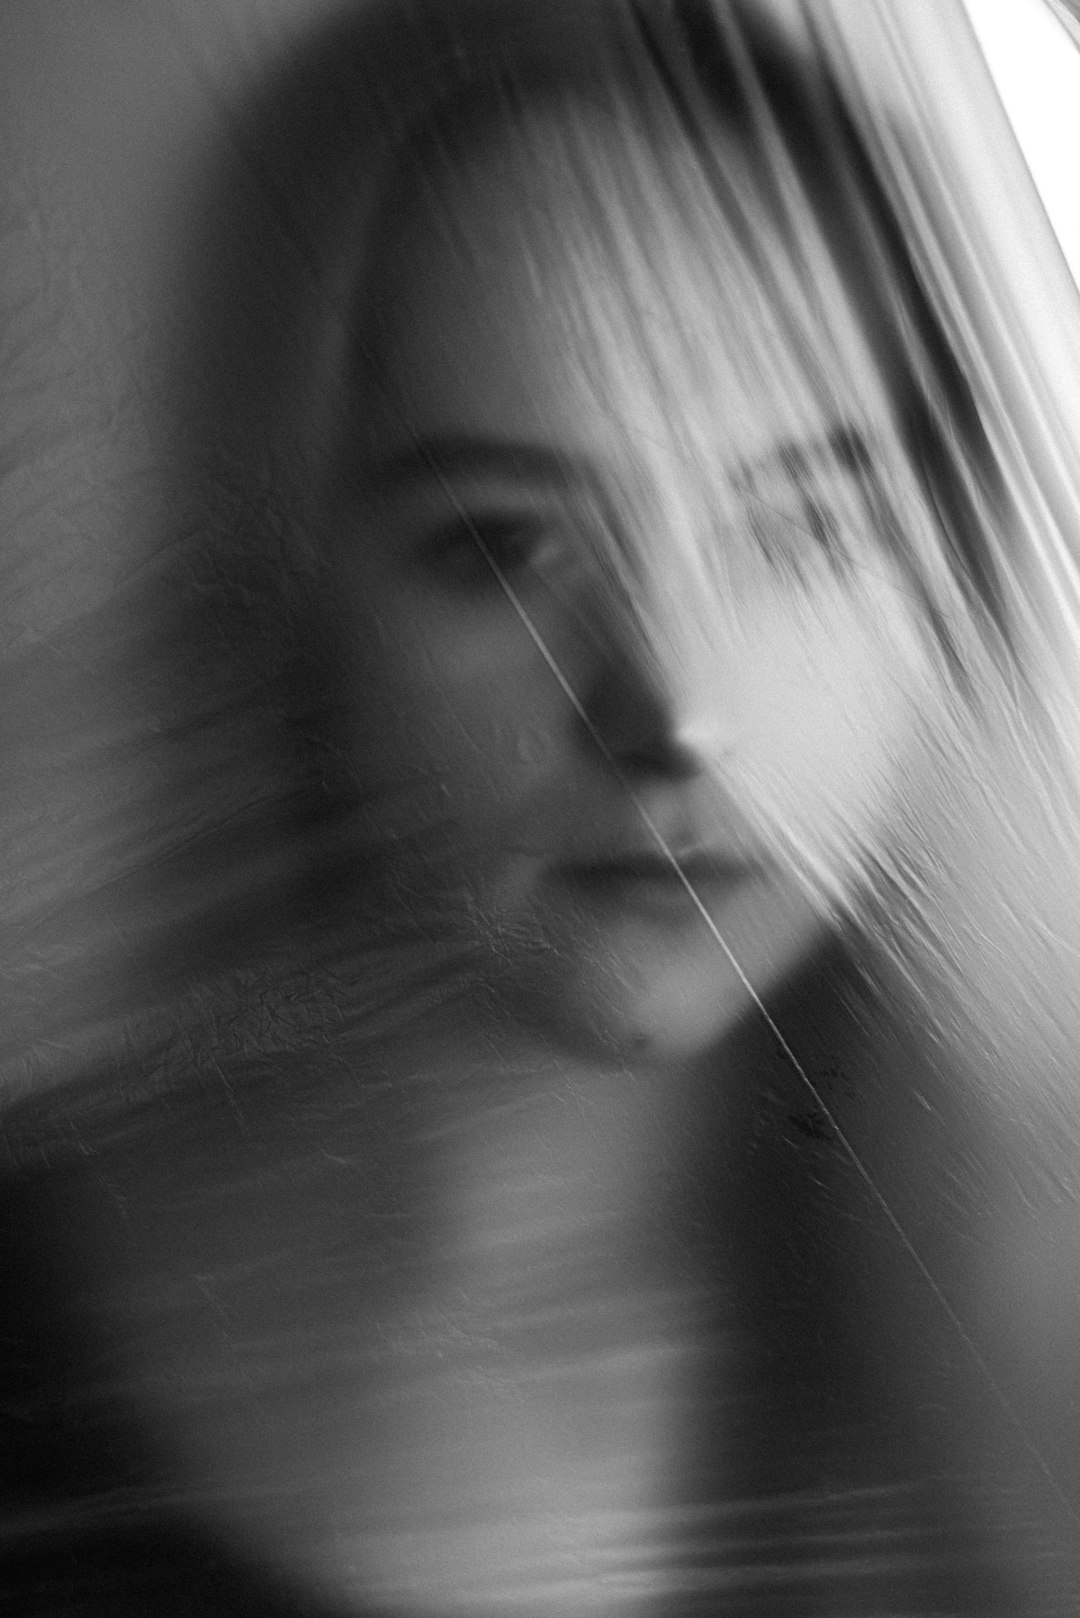
- Ignoring edges: Blurry edges can make people look like ghosts.
- Using one brush size: Change sizes for better control.
- Never zooming out: You may fix problems no one can see.
A Simple Blur Brush Workflow
Here is an easy workflow for portraits:
- Duplicate your image layer, if possible.
- Start with a low blur strength.
- Soften uneven skin areas.
- Avoid eyes, lips, and strong edges.
- Blur the background for depth.
- Blend makeup or painted colors.
- Zoom out often.
- Compare before and after.
The before and after step is important. It keeps you honest. If the “after” looks too smooth, reduce the effect. If the face still looks natural, you are in the sweet spot.
Final Thoughts
The Blur Brush is not just a cleanup tool. It is a creative tool. It can make skin soft, light dreamy, backgrounds calm, and paintings smooth.
Use it with care. Keep important details sharp. Let some texture stay. A great portrait has polish, but it also has personality.
So grab the Blur Brush and have fun. Smooth a cheek. Glow up a highlight. Tame a wild background. Just remember: blur is seasoning. A little makes the portrait delicious. Too much ruins the soup.