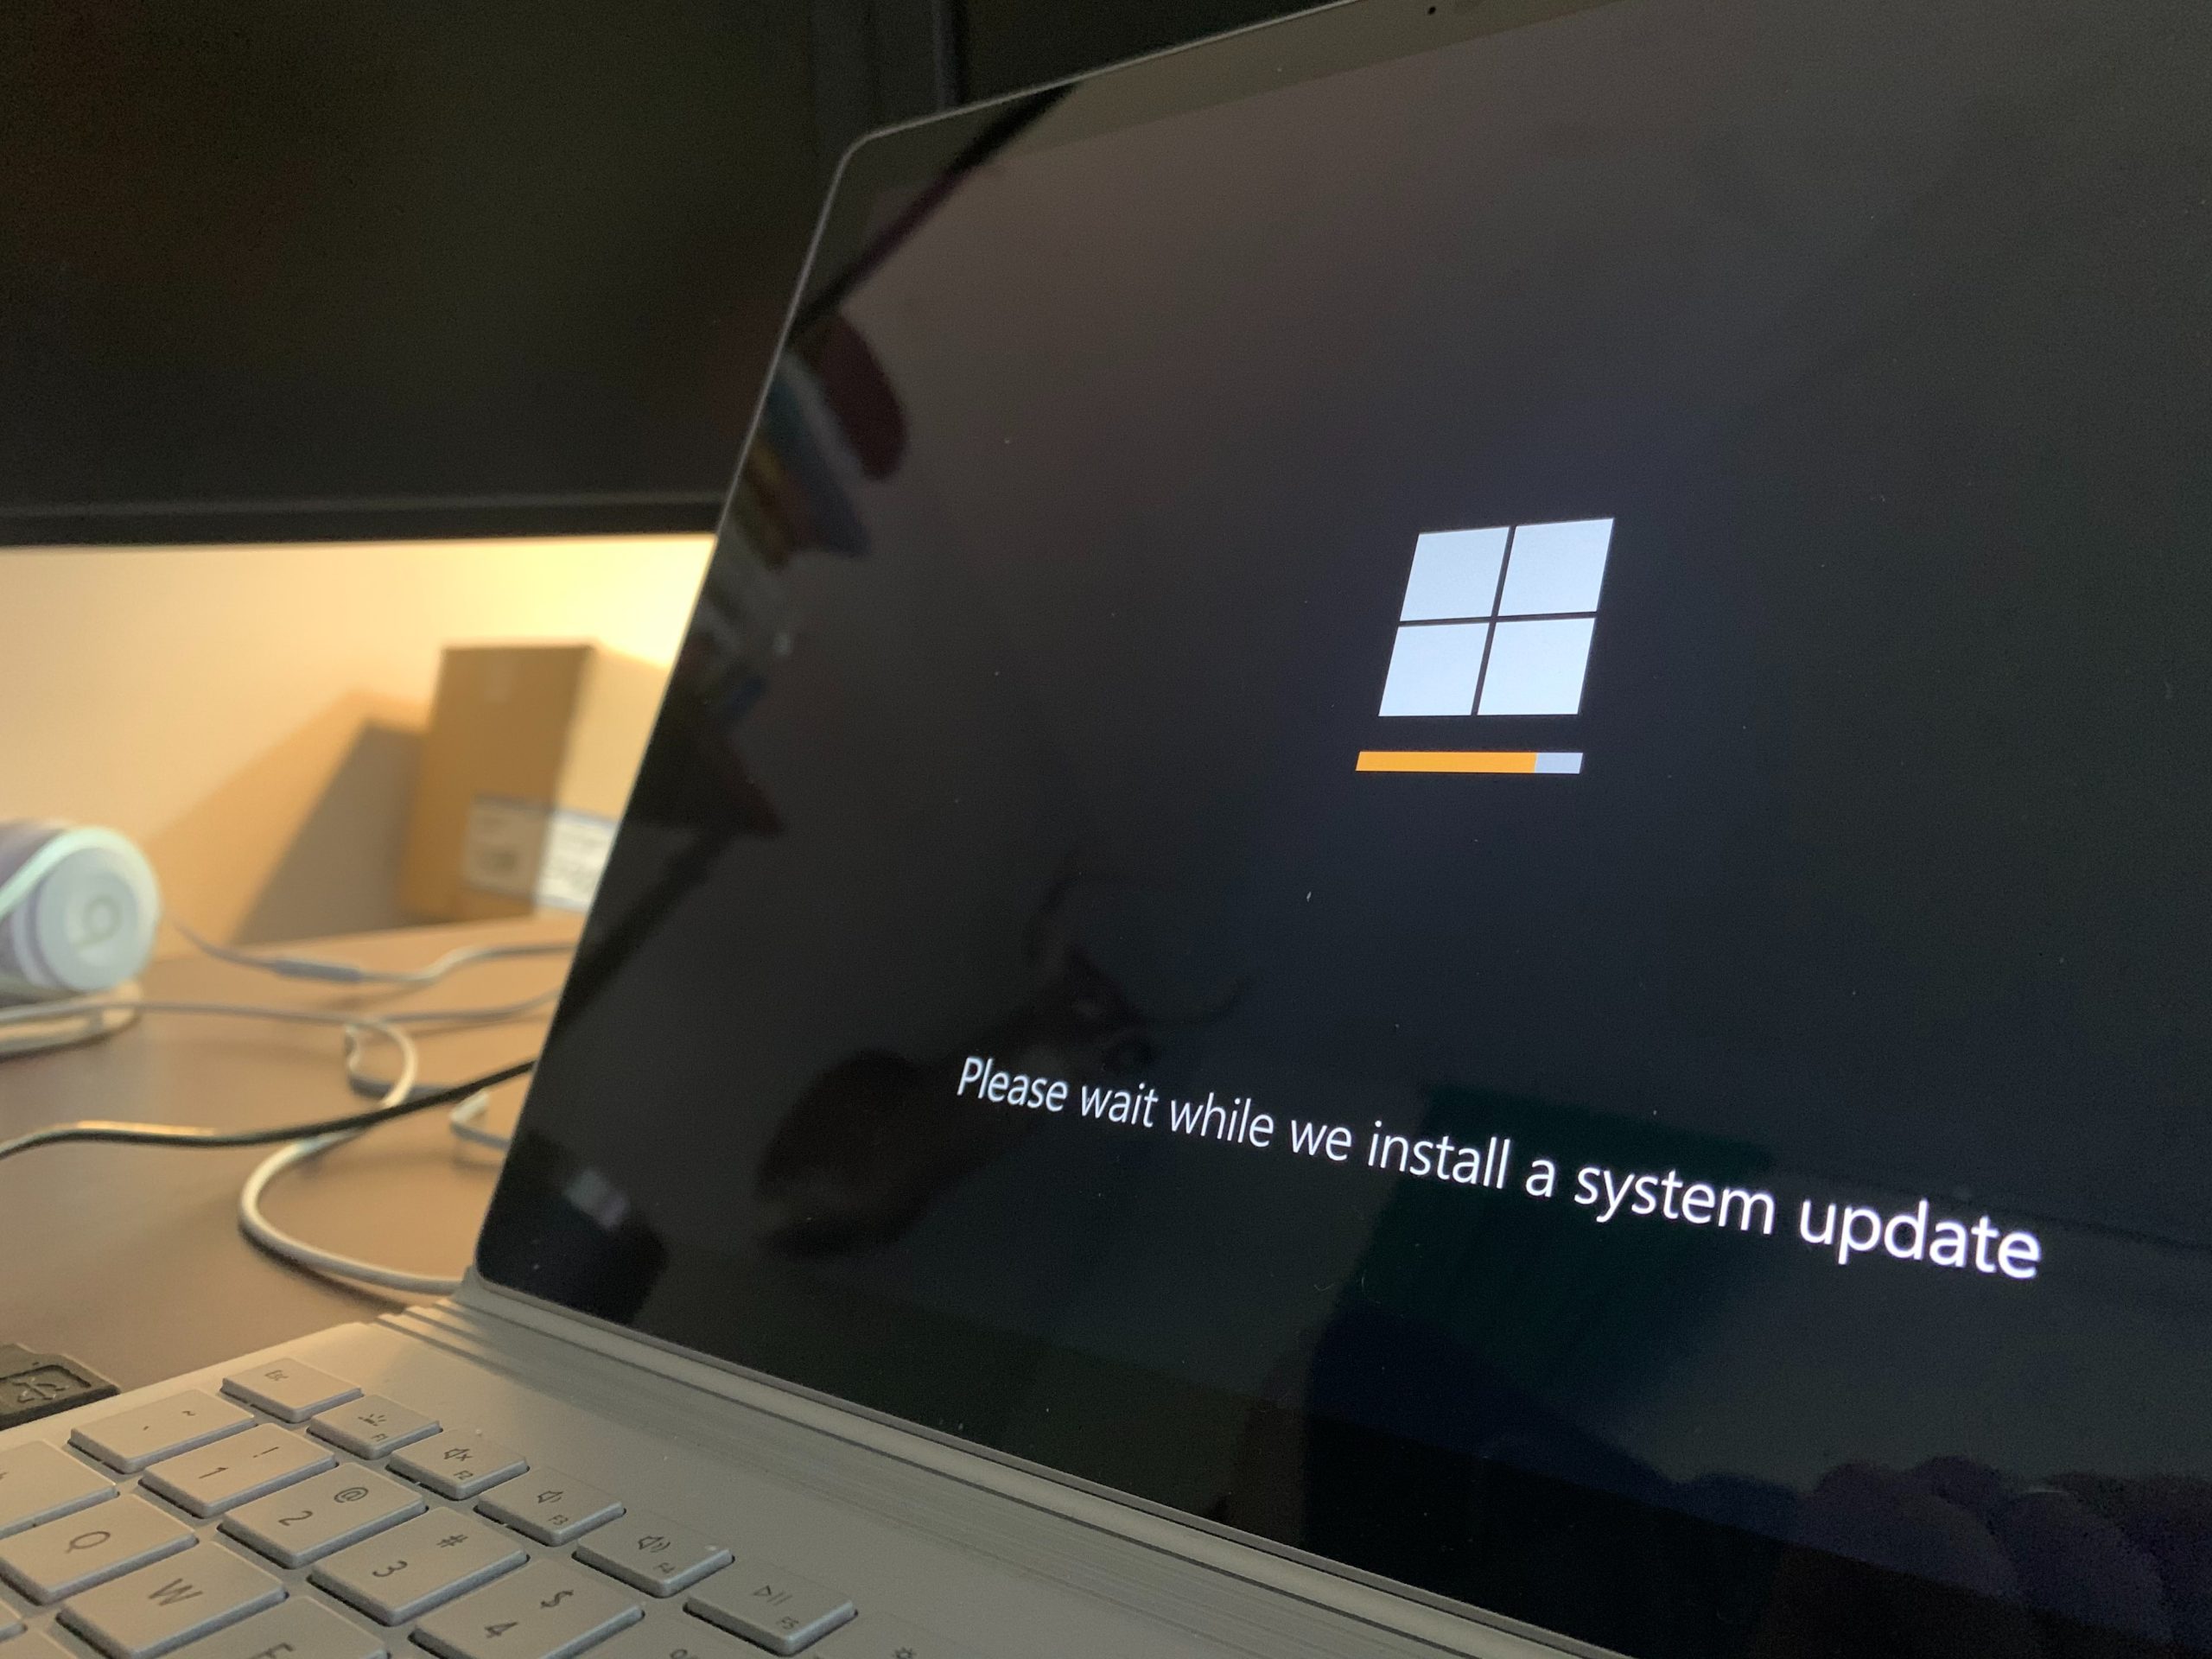
Have you ever been in a situation where your computer crashes unexpectedly, leaving you with no access to your precious files and documents? Well, fear not! With Rufus and a simple USB drive, you can safeguard yourself against such emergencies by creating a bootable backup of your entire Windows 10 operating system. Imagine the peace of mind knowing that even if disaster strikes, you can simply plug in your USB drive and be back up and running within minutes. In this article, we’ll show you exactly how to create a Windows 10 bootable USB with Rufus – it’s like having an insurance policy for your computer!
What is a bootable USB?
A bootable USB is a portable device that contains an operating system, such as Windows 10, and can be used to start up a computer or install the operating system on a new machine. Unlike a traditional installation disk or DVD, which requires you to insert it into your computer’s optical drive, a bootable USB allows for greater flexibility and convenience. With the ability to carry your operating system on a small USB stick, you can easily set up or repair computers on the go without the need for additional hardware.
Creating a bootable USB is simple with the help of Rufus, a popular tool that enables you to format and create bootable USB drives in just a few steps. It allows you to choose an ISO file containing the operating system of your choice, and then writes it onto the USB drive in such a way that it becomes capable of starting up your computer. This process comes in handy when building custom PCs or when you simply want an additional backup option for emergencies. Rufus also provides various options for partition schemes and filesystems, so make sure to explore these features if you want more control over how your bootable USB is formatted.
Overall, having access to a bootable USB offers numerous advantages in terms of convenience and flexibility. Whether you need to install an operating system on multiple machines quickly or troubleshoot issues on different devices without lugging around bulky installation disks, creating a bootable USB with Rufus is undoubtedly one of the most efficient methods available today.
What is Rufus?
Rufus is a powerful and versatile tool for creating bootable USB drives. While many people may be familiar with other popular software such as Microsoft’s own Media Creation Tool, Rufus offers several unique advantages. One of the standout features of Rufus is its compatibility with a wide range of ISO files, making it an ideal choice for creating bootable drives for various operating systems including Windows, Linux, and even Android. This flexibility gives users the freedom to experiment with different platforms and explore new possibilities.
Another great advantage of using Rufus is its speed. Unlike some other methods that can be time-consuming and tedious, Rufus delivers blazing fast performance by utilizing advanced algorithms and optimization techniques. Whether you need to create a bootable USB drive in a hurry or you simply value efficiency, Rufus won’t disappoint. Additionally, Rufus provides extensive customization options and supports both BIOS-based and UEFI-based systems, giving users greater control over their bootable drives.
In conclusion, Rufus is an indispensable tool for anyone who needs to create bootable USB drives easily and efficiently. Its compatibility with various operating systems, lightning-fast performance, and rich customization options make it stand out from the crowd. So if you’re looking to install or upgrade your operating system or simply want to explore new possibilities with different platforms, give Rufus a try – you won’t be disappointed!
Step 1: Download and install Rufus
Rufus is a lightweight yet efficient tool for creating bootable USB drives. It offers a seamless and straightforward process that even beginners can easily follow. To get started, the first step is to download Rufus from their official website. The software is available for free, making it an attractive option for those who want to create a Windows 10 bootable USB without any additional costs.
Once you have downloaded Rufus, installation is as simple as running the executable file. The program does not require any complex configurations or settings, allowing you to start using it right away. This user-friendly approach makes Rufus an excellent choice for anyone in need of a reliable tool to create bootable USB drives effortlessly.
Overall, downloading and installing Rufus sets the stage for creating your Windows 10 bootable USB drive. Its simplicity and efficiency make it stand out from other similar tools on the market. With this powerful software in your hands, you’re one step closer to experiencing the benefits of having a portable operating system at your disposal!

Step 2: Insert USB drive and run Rufus
Once you’ve downloaded Rufus onto your computer, it’s time to get down to business. Insert your USB drive into an available USB port on your computer. Make sure the drive is empty or that you have backed up any important files, as Rufus will format the USB drive during the process. Now, open the Rufus application and you’ll be greeted with a clean and straightforward interface.
Next, look for the Device dropdown menu and select your USB drive from the list. This step is crucial as selecting the wrong device can lead to data loss on other drives connected to your system. Double-check that you’ve chosen the correct drive before proceeding.
Once you’re certain about your selection, move on to setting up some additional options underneath the Format Options section. While Rufus is primarily designed for creating bootable drives for Windows installations, there are a variety of formats available depending on what OS or utility you’d like to use with your USB drive. Take a moment to familiarize yourself with these options and choose accordingly.
With everything all set up and ready to go, click on Start at the bottom of the Rufus window. A warning prompt may pop up informing you that all data on your selected device will be destroyed during formatting – don’t worry if this happens! Just double-check once more that there isn’t any important information left on the USB drive before pressing OK.
Step 3: Select the Windows 10 ISO file
Once you have downloaded Rufus, it’s time to proceed with creating a bootable USB drive for Windows 10. The first thing you will need is the Windows 10 ISO file. An ISO file is essentially an archive of all the files and folders that make up an operating system. It allows you to easily create installation media and perform fresh installations or repairs on your computer.
To select the Windows 10 ISO file in Rufus, click on the Select button next to the Boot selection field. This will open a window where you can browse your computer’s directories to find and select the ISO file. It’s important to ensure that you have downloaded a legitimate copy of Windows 10 from the official Microsoft website or trusted sources, as using unverified or pirated ISO files may result in compatibility issues or security risks.
Once you have located and selected the Windows 10 ISO file, click on Open in Rufus to confirm your selection. After this step, you are one step closer to creating your bootable USB drive and having a handy tool for installing or repairing your operating system whenever needed.
Step 4: Choose the USB drive
When it comes to creating a Windows 10 bootable USB with Rufus, choosing the right USB drive is a crucial step that often gets overlooked. The USB drive you select will determine not only the storage capacity but also the speed and reliability of your bootable device.
First and foremost, it’s important to choose a USB drive with sufficient storage space. While a minimum of 8GB is recommended for creating a Windows 10 bootable USB, opting for a larger capacity drive is always wise. This allows room for any future updates or modifications you may want to make without worrying about running out of space.
In addition to storage capacity, pay attention to the speed ratings of different USB drives. The read and write speeds can significantly impact the time it takes to create your bootable device and install Windows 10. Opting for a USB 3.0 or higher-supported flash drive is advisable as they offer faster data transfers compared to older versions like USB 2.0.
Lastly, consider the reliability and brand reputation when selecting your USB drive. Investing in trusted brands known for their quality products ensures durability and better performance over time.
Keeping these factors in mind will help you choose an appropriate USB drive that meets your requirements and ensures hassle-free installation of Windows 10 on your PC or laptop using Rufus!
Step 5: Start the bootable USB creation process
Once you have selected the ISO image and the USB drive, it’s time to dive into the bootable USB creation process. With Rufus, this step is remarkably straightforward and efficient. All you need to do is click on the Start button, and Rufus will immediately begin formatting your USB drive and copying all necessary files.
As Rufus works its magic, it’s important to be patient as this process might take a few minutes depending on your computer’s performance. During this time, resist the temptation to unplug your USB or interfere with the process in any way. Remember that creating a bootable USB requires precision and any disruption can potentially lead to errors or an incomplete installation.
Once Rufus has completed its task, you will be greeted with a confirmation message indicating that your bootable USB has been successfully created. At this point, you can remove your USB drive from your computer but don’t forget to safely eject it first! Now that you have created a Windows 10 bootable USB using Rufus, you are ready for the next step in installing or repairing your operating system hassle-free!
Conclusion: Enjoy your Windows 10 bootable USB
In conclusion, creating a Windows 10 bootable USB with Rufus is not only convenient but also offers endless possibilities. With this powerful tool at your disposal, you can easily troubleshoot and repair your system, install a fresh copy of Windows 10 on a new computer, or even run multiple operating systems on the same machine.
Taking advantage of the versatility that a bootable USB provides allows you to have complete control over your computer and its capabilities. Whether you’re a tech enthusiast or simply someone who wants to be prepared for any situation, having a Windows 10 bootable USB is an indispensable asset.
So don’t hesitate to embark on this journey of creating your own bootable USB with Rufus. Not only will it save you time and resources in the long run, but it will also give you peace of mind knowing that you are well-equipped to handle any troubleshooting or installation needs that may arise. Embrace the power and convenience of having an easily accessible bootable USB, and seize every opportunity to enhance your computing experience.