Cutting people and objects out of photos used to feel like surgery with a mouse. Zoom in. Click. Miss the edge. Sigh. Start again. Today, AI subject selector tools do much of the hard work for you. They find people, pets, cars, products, skies, and even messy hair in seconds.
TLDR: AI subject selector tools help you select people and objects fast, often in one click. A small online shop can cut product editing time from 10 minutes per photo to about 2 minutes, saving over 80% of the work. For example, you can select a sneaker, remove the background, add a new color, and post it to your store before your coffee gets cold.
Why subject selection matters
A good selection is like a magic lasso. It lets you grab the important part of an image and do things to it. You can remove the background. You can change colors. You can blur the rest. You can copy a person into a poster. You can make a dull product photo look like a shiny ad.
Before AI, this took patience. Lots of it. You had to trace edges by hand. Hair was a nightmare. Bicycle spokes were chaos. A glass cup? Good luck.
Now, subject selector tools use AI to guess what matters in the image. They look for shapes, edges, contrast, faces, and patterns. Then they build a selection for you. It is not always perfect. But it is fast. Very fast.
1. Use one click subject selection
This is the easiest trick in the box. Open your photo. Tap Select Subject or a similar button. The AI scans the image. Then it places a selection around the main person or object.
It works best when the subject is clear. A person in front of a plain wall? Great. A red mug on a white table? Easy. A dog in a busy park? Still possible, but it may need help.
Best for:
- Profile photos
- Product shots
- Simple social media graphics
- Quick background removal
Fun tip: If the AI selects the wrong thing, crop the photo first. Make your subject bigger in the frame. AI likes a clear hint.
2. Select people with face and body detection
Many modern editors can spot people right away. They do not just see a blob. They understand faces, arms, legs, hair, clothing, and posture.
This is great for portraits. You can brighten a face without touching the background. You can change a jacket color. You can blur everything behind the person for that fancy camera look.
Some tools can even split a person into parts. Hair. Skin. Eyes. Lips. Clothes. This feels like cheating, but the good kind.
Try this: Select only the person. Add a soft shadow. Place them on a bright background. Boom. Instant event poster.
3. Use object selection for products and props
Object selection is perfect when your image has more than one thing in it. Maybe there is a laptop, a phone, a cup, and a notebook on a desk. You only want the phone. AI can help you grab just that.
Some tools let you hover over objects. As you move your mouse, the tool highlights what it thinks you want. Click once, and the object is selected.
This is very handy for ecommerce. It is also great for thumbnails, menus, flyers, and ads.
Good objects to select:
- Shoes
- Bags
- Bottles
- Furniture
- Food plates
- Tech gadgets
If the object has a clear outline, AI usually wins. If it is transparent, shiny, or covered by other objects, check the edges after selection.
Image not found in postmeta
4. Paint your selection with an AI brush
Sometimes one click is not enough. That is when the AI brush becomes your best friend.
You paint over the area you want. The tool understands the nearby edges. It expands the selection in a smart way. You do not need to trace every tiny curve.
This is much faster than old manual selection. It feels like coloring with a helper robot. You brush near the jacket, and the tool sticks to the jacket. You brush near the hair, and it tries to catch the fuzzy parts.
Use an AI brush when:
- The subject blends into the background
- The one click tool misses a section
- You need to add small details
- You want more control
Simple rule: Use a big brush for large areas. Use a small brush for tricky edges. Do not fight the pixels. Guide them.
5. Refine edges for hair, fur, and tiny details
Hair is the boss battle of photo editing. Fur is the sequel. Tree leaves are the bonus level.
AI can select these details better than old tools, but you should still refine the edge. Most editors have a Refine Edge, Feather, or Smart Edge option. These tools soften rough borders. They also help catch fine strands.
Without edge refining, cutouts can look like stickers. The person may have a weird glow. The pet may lose its fluff. Nobody wants a square cat.
Quick edge checklist:
- Zoom in to 100%
- Check hair and shoulders
- Look for leftover background bits
- Use a small brush to fix gaps
- Add a tiny feather if the edge looks sharp
A clean edge makes the edit look real. A messy edge says, “I did this at 1 a.m.”
6. Use background detection to select the opposite
Here is a sneaky trick. If the tool can select the background better than the subject, select the background first. Then invert the selection.
Inverting means flipping the selected area. So if the sky is selected, invert it, and now the buildings are selected. If the wall is selected, invert it, and now the person is selected.
This is great for photos with simple backgrounds. A model on a plain backdrop. A bicycle against a wall. A chair on a studio floor.
Why it works: AI sometimes understands large simple areas faster than complex subjects. Let it take the easy path. Then flip the result.
Editing should be smart, not heroic.
Image not found in postmeta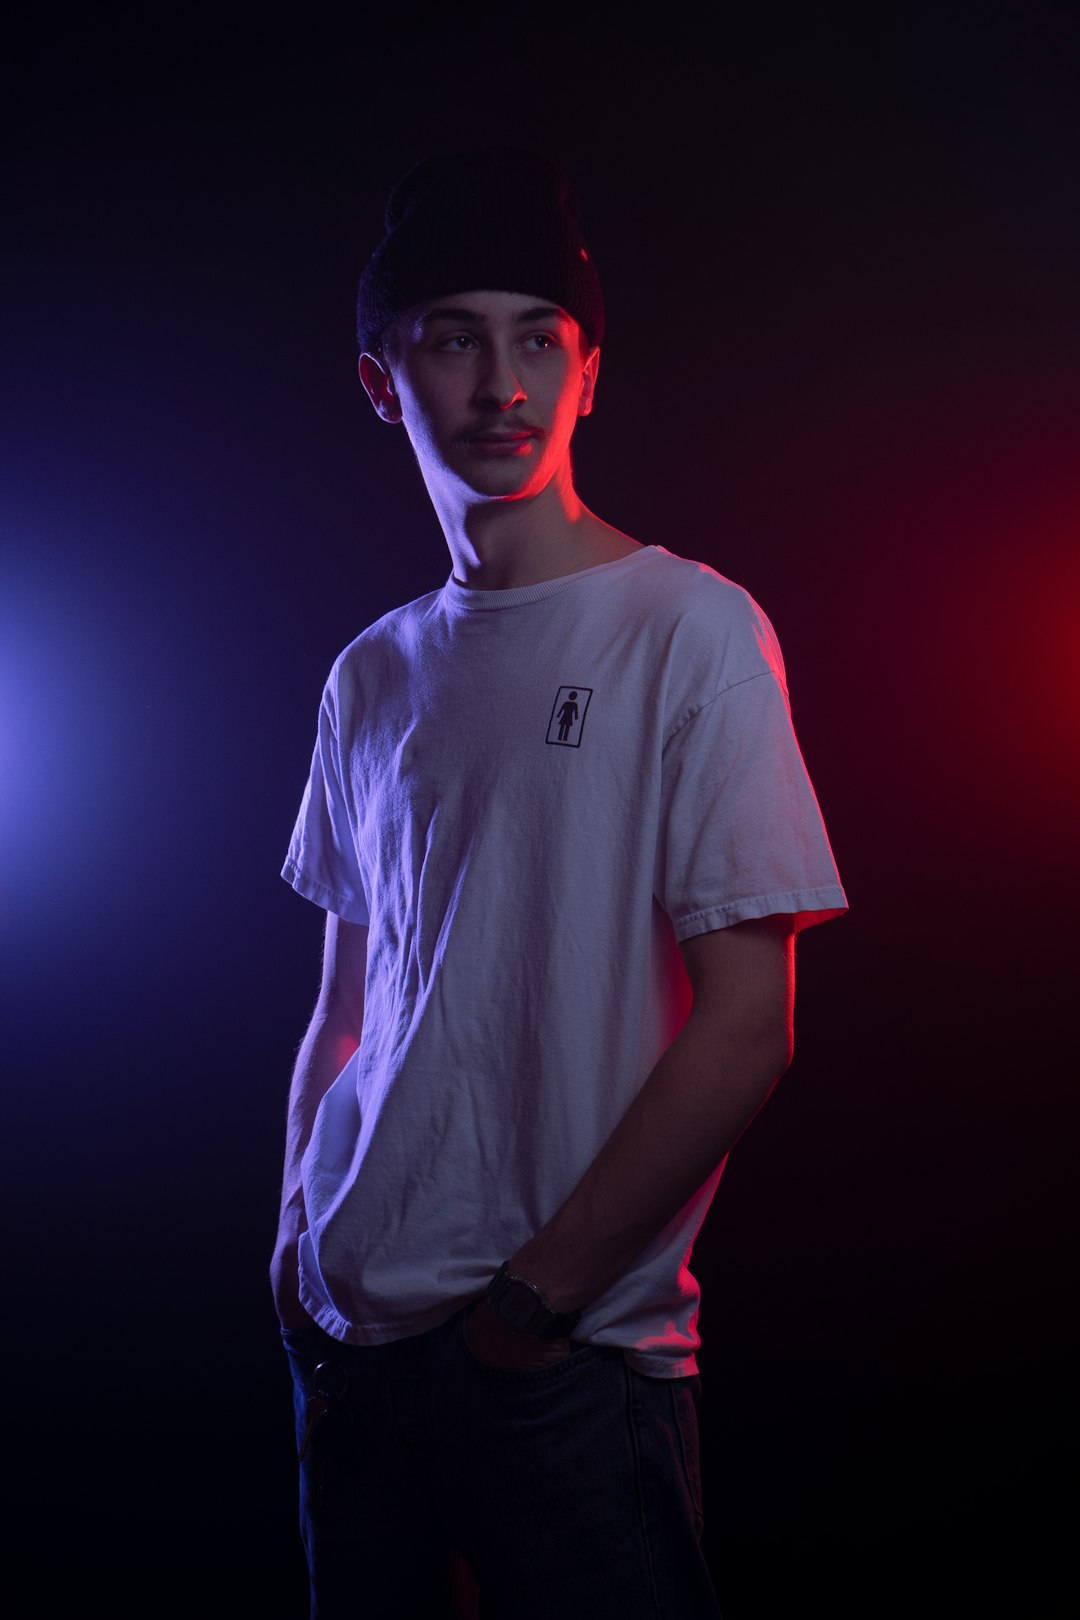
7. Combine AI selection with layers and masks
This is where things get powerful. A selection is not just for cutting. You can turn it into a mask. A mask hides or shows parts of a layer. It is non destructive. That means you can fix it later.
Think of a mask like a window. White areas show the layer. Black areas hide it. Gray areas partly show it. Simple.
With masks, you can try wild ideas without ruining the original photo. Put a person on a new background. Add text behind them. Change the color of a shirt. Blur only the background. Make a product glow.
Fast workflow:
- Use AI to select the subject.
- Turn the selection into a mask.
- Add a new background or effect.
- Refine the mask edges.
- Export your final image.
This workflow is popular because it is quick and safe. If something looks wrong, edit the mask. No panic. No starting over.
How to get better AI selections
AI is smart, but it is not a wizard with perfect glasses. You can help it with better photos.
- Use high resolution images. More pixels mean better edges.
- Choose clear lighting. Shadows can confuse the tool.
- Avoid messy backgrounds. Less clutter means faster selection.
- Keep contrast strong. A dark object on a dark sofa is hard to read.
- Check the edges. Always. Even if the first result looks amazing.
For teams, the savings can be huge. If a designer edits 60 images per week and saves 6 minutes per image, that is 360 minutes saved. That is 6 hours back. Enough time for planning, testing, or yes, a very serious snack break.
Common mistakes to avoid
Do not accept the first selection every time. AI is fast, not flawless. Look at hands, hair, shoes, glass, and shadows. These spots often need cleaning.
Do not over feather the edge. A little softness helps. Too much makes the subject look foggy.
Do not forget the final background. A cutout that looks good on white may look rough on blue. Test it on the real design before exporting.
Final thought
Subject selector tools make photo editing feel less like homework and more like play. They help beginners move fast. They help pros save time. They turn boring cutouts into quick creative wins.
Start with one click. Fix the edges. Use masks when you can. And remember, the goal is not to impress the software. The goal is to make a clean image that does its job. If AI gets you there faster, let the robot hold the scissors.