Perspective is one of the invisible forces that determines whether an image feels natural, dramatic, distorted, or simply “off.” In photography, it can make a building appear to lean backward or a room look wider than it really is. In illustration, it can turn a flat drawing into a believable space—or make objects look awkward when the angles do not agree. Perspective tools exist to help you identify, adjust, and control these visual relationships with more accuracy.
TLDR: Perspective tools help correct distorted angles in photos and guide believable depth in illustrations. In photography, they are commonly used to straighten architecture, fix converging verticals, and align interiors. In illustration, they help artists build consistent scenes using vanishing points, grids, and horizon lines. The key is to correct perspective enough to feel natural without making the image look artificial.
What Perspective Means in Visual Images
Perspective is the way objects appear to change size, angle, and position depending on their distance from the viewer. A road seems to narrow as it stretches into the distance. Tall buildings photographed from street level seem to lean inward. A table drawn from above reveals its top surface, while the same table viewed at eye level shows mostly its edge.
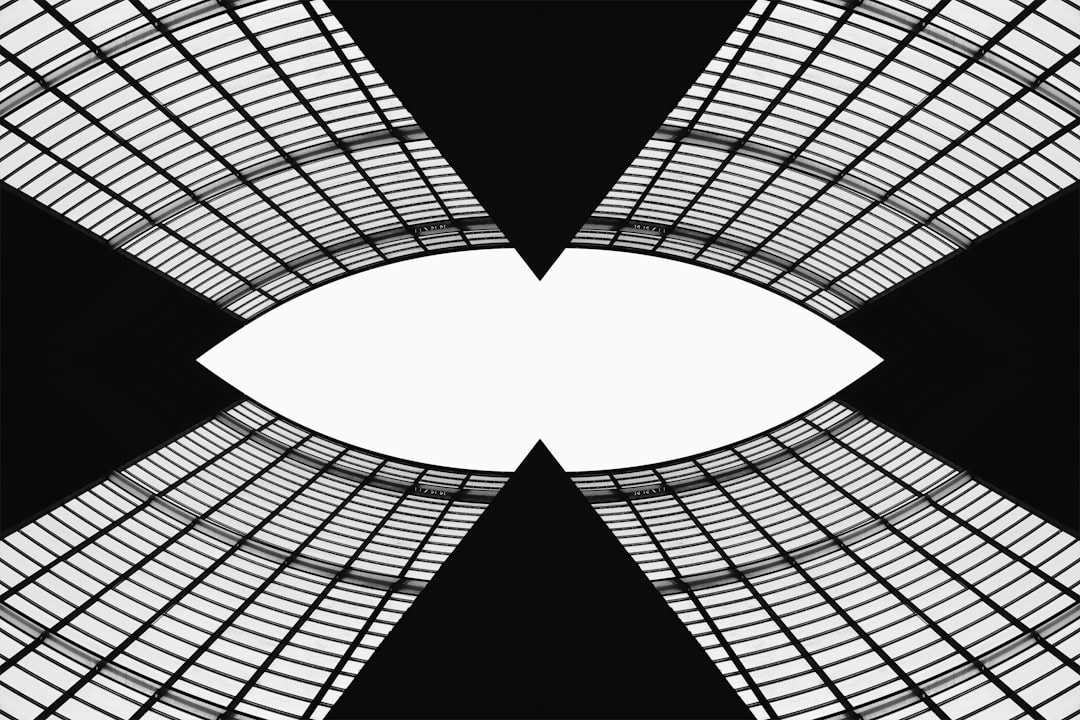
In both photos and illustrations, perspective is governed by a few core ideas: the horizon line, vanishing points, and converging lines. The horizon line represents the viewer’s eye level. Vanishing points are places where parallel lines appear to meet. Converging lines are the visual paths that lead objects toward those points.
When these elements are consistent, the image feels convincing. When they conflict, the viewer may not know exactly what is wrong, but they will often sense that something is unstable.
Common Perspective Problems in Photos
Perspective issues in photography often happen because of camera position and lens choice. A camera tilted upward to capture a tall building makes vertical lines converge. A wide-angle lens used in a small room can exaggerate the edges of furniture or stretch objects near the corners. Shooting too close to a subject may enlarge the foreground in a way that feels unflattering.
Some of the most common problems include:
- Keystone distortion: Vertical or horizontal lines appear to lean inward or outward, especially in architectural shots.
- Wide-angle stretching: Objects near the edge of the frame look unnaturally elongated.
- Uneven horizons: The entire image feels tilted because the camera was not level.
- Interior distortion: Rooms appear larger, narrower, or more warped than they actually are.
- Object misalignment: Table edges, windows, doors, or tiles do not visually line up as expected.
Correcting these issues can make a photograph look more professional, especially in real estate, travel, product, and architectural photography.
How Perspective Correction Tools Work
Most photo editing software includes perspective correction tools under names such as Transform, Perspective Warp, Geometry, Lens Correction, or Upright. Although the names vary, the goal is similar: to adjust the geometry of the image so important lines become vertical, horizontal, or properly aligned.
These tools typically work by stretching, compressing, rotating, or skewing parts of the image. For example, if a building appears to taper toward the top, the editor can widen the upper part of the photo until the walls look parallel again. If a room appears tilted, the image can be rotated and vertically adjusted until door frames and corners look straight.
There are usually two main approaches:
- Automatic correction: The software analyzes the image and tries to detect vertical and horizontal lines. This is fast and often effective for simple corrections.
- Manual correction: You adjust sliders, corner handles, or guide lines yourself. This offers more control and is better for complex images.
A good workflow is to start with an automatic correction, then refine manually. Automatic tools can get close, but they may overcorrect or misunderstand the image’s intended angle.
Fixing Perspective in Photos Step by Step
To correct perspective in a photograph, begin by identifying the lines that should be straight. In an architectural image, these might be the sides of a building, window frames, or columns. In an interior photo, use walls, shelves, tiles, and doorways as guides.
Next, apply perspective correction gradually. Avoid dragging sliders to extremes unless the image is heavily distorted. Overcorrection can make a photo look stretched, flattened, or strangely digital. The goal is not always mathematical perfection; it is visual believability.
A practical correction process looks like this:
- Level the horizon first. A tilted image should be rotated before more advanced adjustments.
- Correct verticals. Straighten buildings, walls, and upright objects so they do not lean unnaturally.
- Adjust horizontals if needed. This is useful for interiors, furniture, and symmetrical compositions.
- Check the edges. Perspective correction often creates empty areas that need cropping.
- Compare before and after. Toggle the correction on and off to ensure the fix improves the image.
One important tip: leave extra space around your subject when shooting. Perspective correction often requires cropping, so a tightly framed photo may lose important details after adjustment.
Perspective Tools in Illustration
For illustrators, perspective tools are less about fixing lens distortion and more about building a believable structure from the beginning. Digital drawing programs often include perspective grids, rulers, snap guides, and vanishing point tools. These help artists draw consistent buildings, rooms, vehicles, furniture, and environments.
The most common systems are:
- One-point perspective: Lines recede toward a single vanishing point. This is useful for hallways, roads, tunnels, and front-facing rooms.
- Two-point perspective: Lines recede toward two vanishing points. This is common for buildings, boxes, streets, and objects viewed from a corner.
- Three-point perspective: A third vanishing point is added above or below. This creates dramatic views looking up at skyscrapers or down from high places.
- Curvilinear perspective: Lines bend to imitate wide-angle or fisheye views. This is useful for dynamic scenes and stylized art.
Perspective grids allow artists to place objects in space without guessing every angle. When snapping is enabled, strokes can automatically follow the grid, making it easier to draw clean architecture, room layouts, and technical forms.
How to Fix Perspective in a Drawing
If an illustration already looks wrong, start by finding the horizon line. Ask yourself: where is the viewer’s eye level? Then look at the main sets of parallel lines. In a room, ceiling beams, floorboards, shelves, and wall edges should usually point toward appropriate vanishing points.
If different objects appear to use different perspective systems, the image will feel inconsistent. A table might seem viewed from above while a nearby chair seems viewed straight on. To fix this, lightly draw or overlay a perspective grid and adjust major forms to match it.
For digital illustration, use transform tools to reshape objects that do not align. Skewing, distorting, and warping can bring an object back into the correct perspective. However, it is often better to correct the underlying construction first, then redraw details afterward.
When Not to Fully Correct Perspective
Perfectly corrected perspective is not always the best choice. In photography, some perspective distortion adds drama and scale. A tower photographed from below may feel powerful precisely because it leans into the sky. In illustration, exaggerated perspective can create motion, tension, humor, or emotional intensity.
The question is not, “Is this perspective technically correct?” but rather, “Does this perspective support the image?” A fashion portrait may benefit from a slightly low angle. A fantasy city may look more impressive with extreme vertical convergence. A comic panel may intentionally bend perspective to increase energy.
Correction should serve the composition, not erase its personality.
Best Practices for Natural Results
Whether you edit photos or create illustrations, subtlety is usually your best friend. Use guides, grids, and rulers, but keep checking the whole image. A line may be perfectly vertical, yet the overall composition may feel stiff after correction.
Keep these best practices in mind:
- Use reference lines. Doors, windows, floor seams, and rooflines are excellent guides.
- Correct in stages. Small adjustments are easier to control than one major transformation.
- Watch proportions. Perspective fixes can stretch people, furniture, and objects if applied too aggressively.
- Crop thoughtfully. Leave enough breathing room after transforming an image.
- Trust your eye. Technical alignment matters, but visual balance matters more.
Perspective tools are powerful because they let you reshape how space is perceived. They can rescue a crooked architectural photo, refine an interior image, strengthen a product shot, or help an illustrated city feel solid and immersive. Once you understand horizon lines, vanishing points, and controlled correction, perspective stops being a mystery and becomes a creative tool. Used well, it does more than fix mistakes—it helps guide the viewer into the world of the image.