Color grading is one of the most essential stages of post-production, both for narrative and commercial video workflows. With powerful tools like DaVinci Resolve, filmmakers and video editors gain access to an advanced, professional-grade solution for color correction and stylistic color enhancement. Whether you’re a beginner or a seasoned colorist, understanding the workflow is crucial to achieving consistent and professional results.
TLDR: DaVinci Resolve enables a complete color grading workflow that starts with media preparation and ends with final delivery. The process typically involves organizing media, applying base corrections, matching shots, applying creative color grades, and rendering the final project. Key tools include nodes, scopes, LUTs, and masking techniques. With a structured approach, editors can maintain consistency across scenes and deliver polished, cohesive content.
1. Import and Organize Your Media
Begin by bringing your project into the Media Pool via the Media tab. Keeping your assets tidy from the start makes the entire grading process more manageable. Use bins to divide your footage based on reel, scene, or camera angle, and label them appropriately.
- Set Project Settings: Be sure your project settings—resolution, frame rate, timeline format—match your source footage or delivery specifications.
- Clip Attributes: Use the right color space and gamma, especially for log or RAW footage (e.g., Sony S-Log3, Blackmagic RAW, REDcode, etc.).
- Metadata: Useful for filtering, especially when working with different cameras or scenes.
This stage is foundational. Get it right, and everything that follows will flow more smoothly.
2. Timeline and Edit Preparation
While color grading is primarily performed in the Color workspace, proper preparation in the Edit tab is essential. Remove unnecessary edits, stabilize shaky shots if needed, and confirm all clip connections.
Consider using scene cut detection if you’re importing a flattened file. This allows DaVinci Resolve to auto-detect individual cuts in a rendered sequence—a valuable tool if you’re grading footage from an offline edit.
3. Apply Base Corrections (Primary Correction)
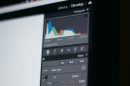
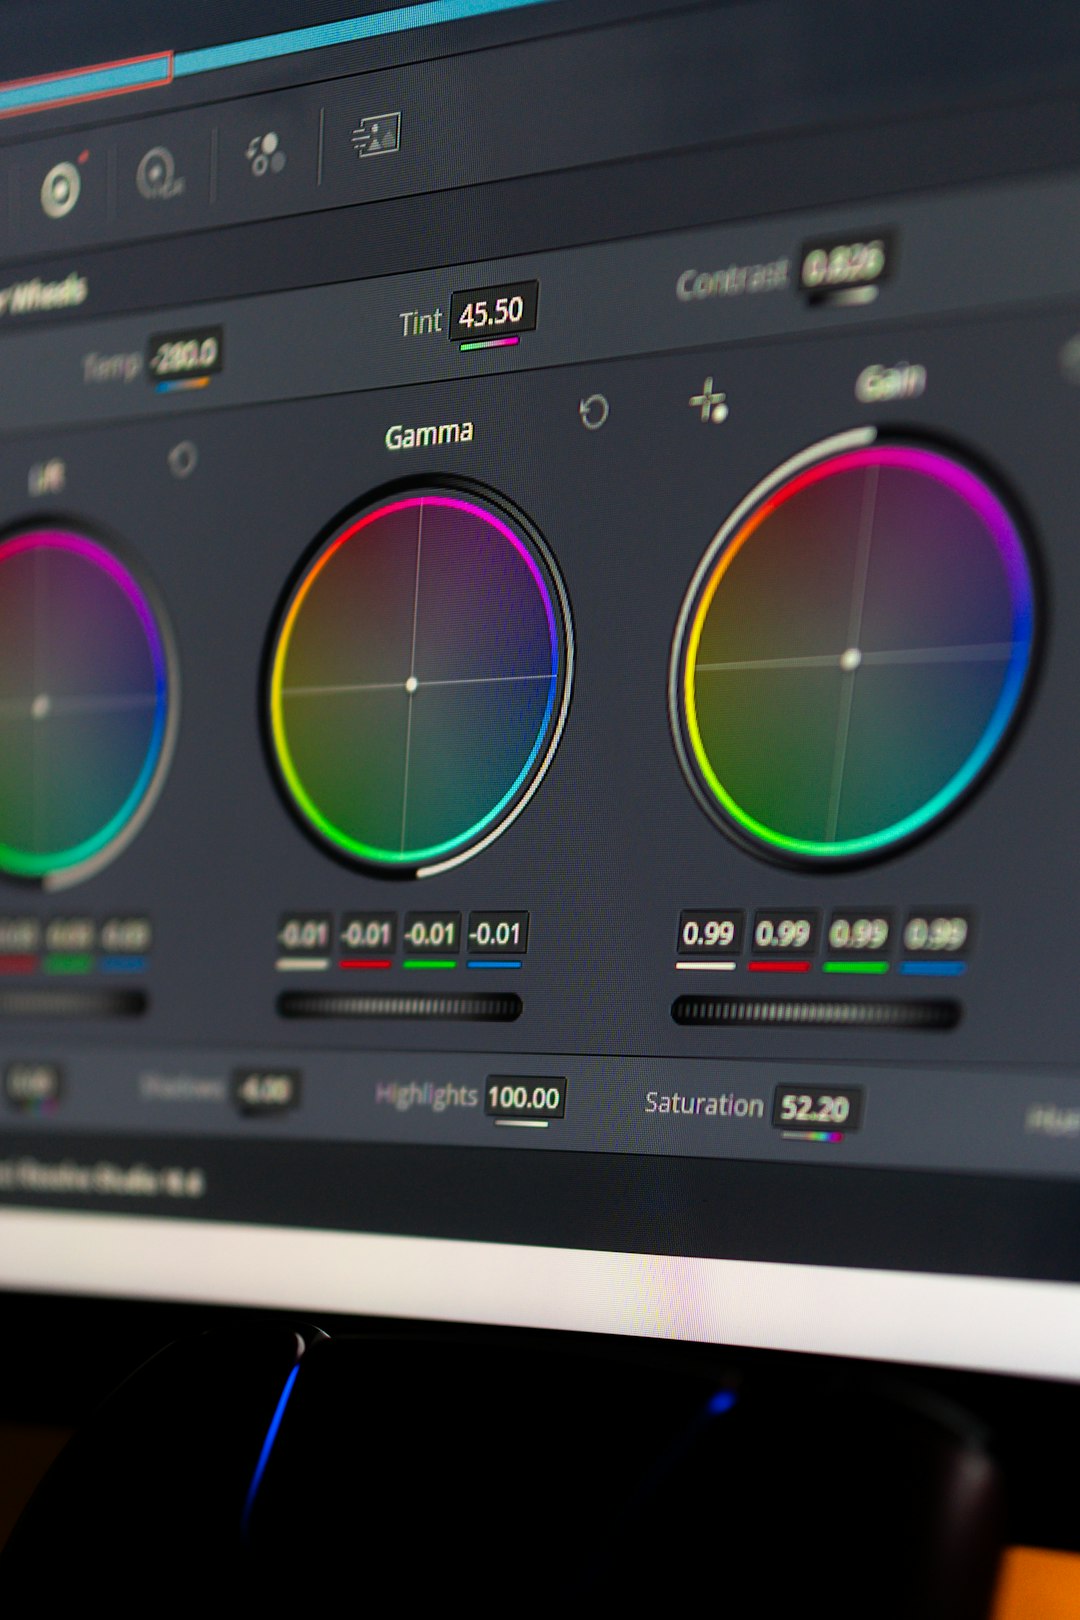
This is where real color grading begins. The goal of primary correction is to normalize exposure, white balance, and contrast before applying any “looks” or creative styles. Switch to the Color tab to get started. Work with the scopes—waveform, parade, vectorscope—active at all times.
- Lift, Gamma, Gain: These basic controls affect shadows, midtones, and highlights respectively. Use them to balance your image.
- Contrast and Pivot: Manage tonal range and keep your adjustments natural-looking.
- Color Temperature and Tint: Neutralize excessive warmth or coolness in the footage.
Ensure consistency from shot to shot. This is often referred to as the “technical” grade, laying the groundwork for more creative adjustments that come later.
4. Shot Matching (Secondary Correction)
Once base corrections are complete, you’ll need to match all clips for consistency across the timeline. Even when filmed on the same camera, lighting differences and setup variations can introduce disparities.
- Manual Matching: Compare clips side-by-side in the viewer and correct using scopes.
- Auto Color Match: Resolve offers a color match tool using reference color charts like X-Rite ColorChecker.
- Group Grading: For efficiency, group clips by scene and apply shared nodes to maintain consistency.
Save frequent node setups using Power Grades or by creating Still Snapshots. These are reusable templates that help maintain continuity from project to project.
5. Use Nodes for Layered Control
DaVinci Resolve uses a node-based workflow for color grading—a modular and powerful system allowing infinite control. Each node can perform a specific task: correcting exposure, isolating color, creating masks, applying LUTs, etc.
- Serial Nodes: Process adjustments one after another in a sequence.
- Parallel Nodes: Enable simultaneous adjustments that blend together downstream.
- Layer Nodes: Ideal when masking different elements like sky or skin tones.
Use naming conventions to keep nodes labeled (e.g., “Base Grade”, “Sky Mask”, “Skin Tonal Fix”). This helps especially in collaborative or complex projects.
6. Creative Grading and ‘Looks’
Now comes the artistic part. After technical grading and matching, apply your desired creative grade. This may involve stylized color treatments, vignette effects, soft contrast, or film emulation LUTs.
- LUTs (Look-Up Tables): Carefully apply LUTs that match your scene’s mood. Always apply them on a dedicated node and only after initial correction.
- Qualifier Tool: Select specific color ranges (e.g., skin, sky) to isolate and grade separately.
- Power Windows: Mask areas of the frame for targeted corrections. Use tracking if the subject moves.
Combine multiple tools and techniques to form a cohesive, scene-enhancing look. Keep it subtle—strong color grades are best when they support storytelling, not distract from it.
7. Final Checks and QC Pass
Before rendering, thoroughly review every shot. Watch the full timeline to ensure color continuity, avoid jarring transitions, and check for any clipped highlights or crushed shadows. Use scopes to verify alignment with broadcast or cinematic specifications.
- Check in Context: Watch grades in motion, not just frame-by-frame, to spot flickers or errors.
- Use External Monitor: A calibrated external display gives a more accurate view of your final image.
- Subtle Tweaks: Often you’ll need to revisit earlier nodes to fine-tune after the creative grade is applied.
8. Export and Delivery
Switch to the Deliver tab where you can render your color-graded footage. Choose the appropriate codec, resolution, and format for your platform—YouTube, broadcast television, digital cinema, etc.
- Render Presets: Resolve offers templates for common standards (H.264, ProRes, DNxHD, etc.).
- Export Options: Deliver single or individual clips. Use timecode burn-in for review purposes when needed.
- Render Queue: Add projects to the render queue to batch export while continuing to work on others.
It’s also wise to output a high-resolution master copy and archive your .drp (DaVinci Resolve Project) files for safe keeping.
Best Practices for Efficient Workflow
- Use Naming Conventions: For clips, grades, nodes, timelines, etc.
- Color Manage Your Workflow: Consider using DaVinci Wide Gamut or ACES for maximum flexibility.
- Calibrate Your Monitor: Vital for trustworthy color evaluation.
- Experiment Cautiously: Save versions or use compound nodes when trying bold grading styles.
Grading is both a technical craft and an artistic endeavor. Stick to a linear, structured timeline and you can always deviate when creativity demands it—but the foundation should be solid.
Conclusion
DaVinci Resolve offers a robust, nuanced environment for colorists of all levels. Its combination of professional-grade tools, node-based architecture, and real-time rendering capabilities makes it an industry standard. By following a disciplined step-by-step workflow—starting from media organization and ending with export—you ensure your work not only looks great but holds up across platforms and viewing environments.
By investing time in mastering these stages, colorists and editors not only improve efficiency but also elevate the visual storytelling power of their content.