Cryptocurrencies have taken the world by storm, and more people are diving into the world of digital assets than ever before. Whether you’re curious about Bitcoin or planning to dive into Ethereum or the vast world of DeFi, having a secure crypto wallet is your gateway to this ecosystem. But what exactly is a crypto wallet, and how do you set one up? In this guide, we’ll walk you through the process step-by-step to ensure you’re fully prepared to manage and protect your digital investments.
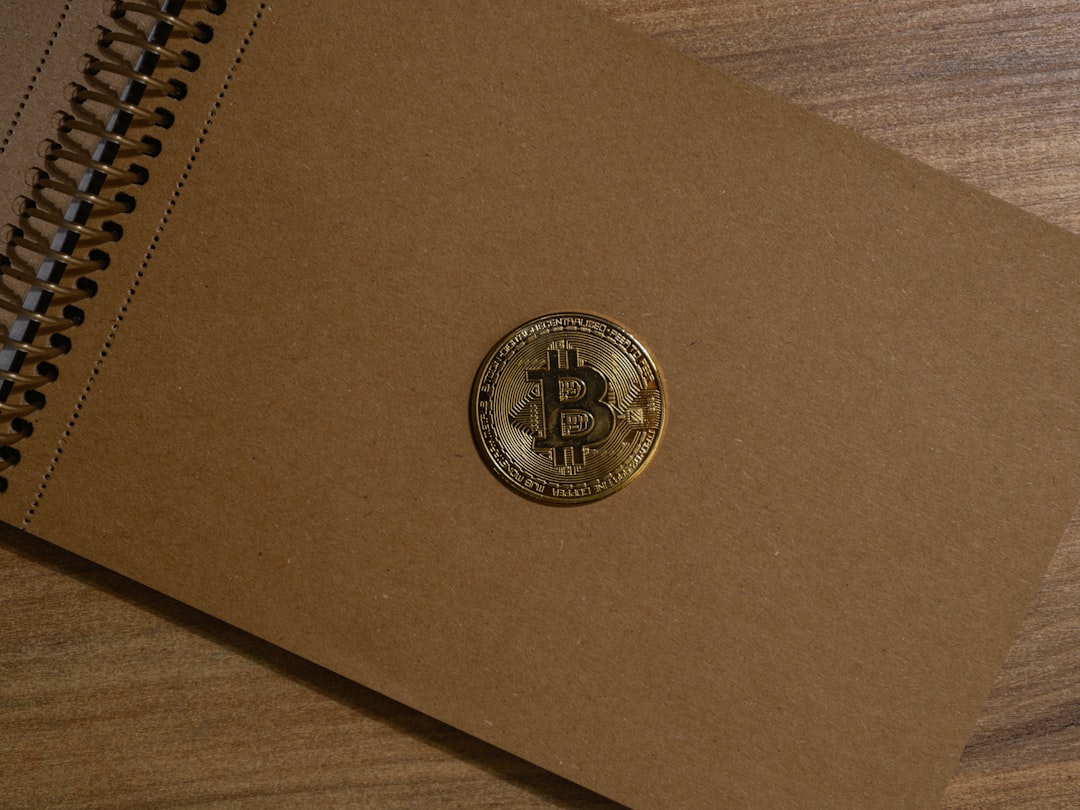
What Is a Crypto Wallet?
A crypto wallet is essentially an application or hardware device that stores the public and private keys necessary to access your cryptocurrency. It’s not like a traditional wallet that holds cash, but more like a keychain that unlocks ownership of the coins recorded on decentralized blockchains. Think of it as your personal vault and control panel for managing digital assets.
There are several types of wallets suited for different needs and preferences. Understanding the basic types is crucial before setting one up.
Types of Crypto Wallets
- Hot Wallets: Connected to the internet, suitable for frequent traders. Examples include mobile apps, desktop software, and web-based platforms.
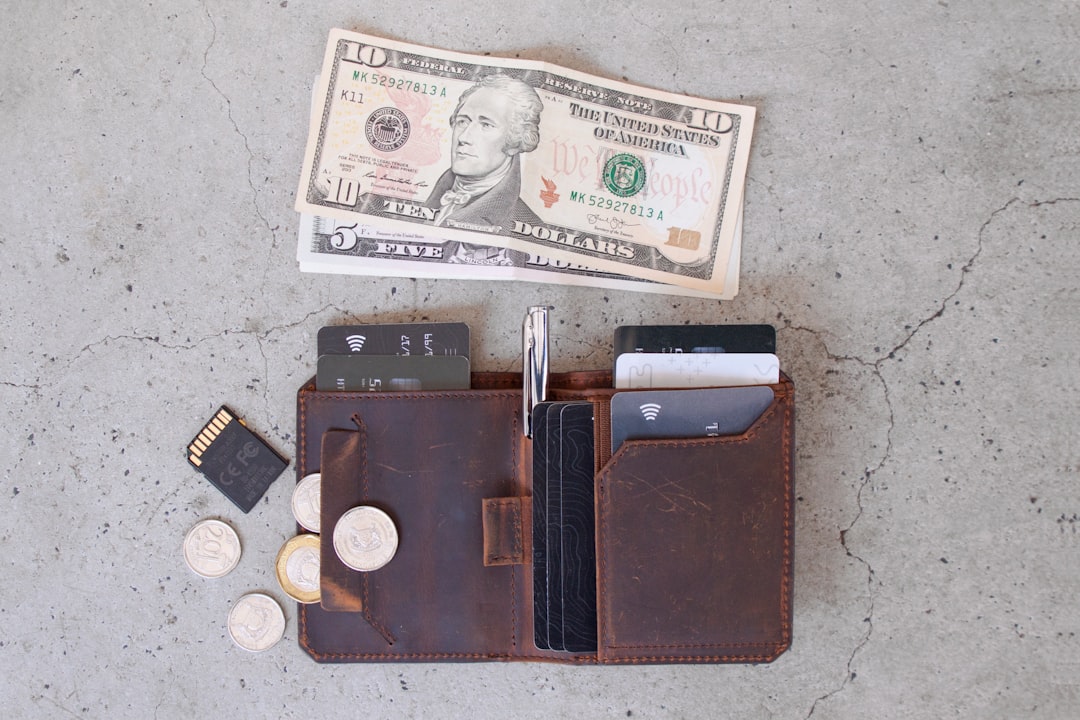
- Cold Wallets: Offline wallets offering higher security, ideal for long-term storage. These include hardware devices and paper wallets.
Step-by-Step Guide to Set Up Your First Crypto Wallet
Step 1: Decide What Kind of Wallet You Need
Before creating a wallet, determine your needs by asking yourself a few key questions:
- Will you be trading frequently or holding long-term?
- Do you need quick access or maximum security?
- Are you comfortable using hardware devices or prefer apps?
If you’re new to crypto and just testing the waters, a mobile or desktop wallet is a good starting point. For serious investors or those holding large amounts, a hardware wallet is strongly recommended.
Step 2: Choose a Reputable Wallet Provider
Not all wallets are created equal. User interface, supported currencies, backup options, and even customer support can vary significantly. Here are some trusted wallet providers based on type:
- Mobile/Desktop Wallets: Trust Wallet, Exodus, Atomic Wallet
- Web Wallets: MetaMask, Coinbase Wallet
- Hardware Wallets: Ledger Nano S/X, Trezor
Make sure you download wallets only from official websites or trusted app stores to avoid phishing scams.
Step 3: Download and Install the Wallet
Once you’ve made your choice, head over to the wallet provider’s website or app store. Follow the installation instructions carefully.
For mobile or desktop wallets:
- Visit the official site or app store.
- Download and install the application.
- Launch the app and follow on-screen setup instructions.
For hardware wallets:
- Purchase directly from the official store to avoid tampered devices.
- Install any necessary companion software (like Ledger Live or Trezor Suite).
- Follow the manufacturer’s steps to initialize the wallet.
Note: Always keep your devices up to date and do not use second-hand wallets.
Step 4: Create a New Wallet
After installation, the app or device will prompt you to create a new wallet. This usually involves generating a secure set of cryptographic keys. You’ll typically be shown a 12 or 24-word recovery phrase, also known as a seed phrase.
This is the most important step in wallet setup!
- Write down the recovery phrase on paper — never store it digitally.
- Do not share it with anyone.
- Store it in multiple safe locations (e.g., a fireproof safe).
Step 5: Secure Your Wallet
The security of your wallet depends on the actions you take. Consider these essential safety precautions:
- Set a strong password for authentication.
- Enable two-factor authentication (2FA) wherever possible.
- Backup your wallet in case you lose your device or wipe your data.
- Keep software updated to protect against vulnerabilities.
For hardware devices, treat them like a real-world safe. Never connect them to untrusted computers and never expose your recovery phrase online.
Step 6: Add Cryptocurrency to Your Wallet
Now that your wallet is set up and secured, it’s time to add some crypto! You can do this by:
- Receiving crypto: Use your public address (a string of letters and numbers) to receive tokens from another wallet or exchange.
- Buying crypto: Some wallets allow you to purchase crypto directly using a credit card, bank account, or payment gateways.
- Transferring from an exchange: If you bought crypto on an exchange like Binance or Coinbase, you can transfer those assets to your personal wallet.
Your wallet’s interface will show you how much crypto you’ve received, and you’ll see transaction confirmations appear on the relevant blockchain.
Step 7: Start Using Your Wallet
With everything in place, you’re ready to start interacting with the blockchain. You can:
- Send and receive crypto to and from friends or businesses.
- Interact with decentralized applications (dApps) like DeFi platforms and NFT marketplaces.
- Stake your crypto to earn passive income in many wallets.
Make sure to double-check all addresses before sending a transaction. A single wrong character could send your funds to an irretrievable account!
Tips for Beginners
Getting started with crypto wallets doesn’t have to be stressful. Here are some final tips to ensure success:
- Take your time. Don’t rush through the setup, especially when writing down your seed phrase.
- Practice first. Try sending a small amount to learn the process before moving large sums.
- Keep learning. Cryptocurrency is a rapidly evolving field. Staying informed helps you make better and safer choices.
Conclusion
Setting up a crypto wallet is your first real step into joining the world of decentralized finance and digital ownership. By choosing the right type of wallet and following each of the steps above, you’re setting the foundation for a secure and enjoyable journey into crypto.
From choosing a trustworthy wallet provider to maintaining top-notch security practices, the process is simpler than it seems — and the benefits are substantial. It’s not just about storing coins; it’s about taking control of your financial future.
So go ahead — set up your wallet and take that exciting first step into the vibrant world of blockchain technology!