Fix KB5094126 first by restarting your PC, freeing at least 10 GB of space, running the Windows Update troubleshooter, and then resetting the update cache. Microsoft says the Windows Update troubleshooter can help find and fix some update problems [source: Microsoft]. If the update still fails, use DISM and SFC. Then check Update history to see if KB5094126 really installed.
TLDR: KB5094126 usually fails because of a stuck download, weak system files, low disk space, or a grumpy Windows Update service. Try a reboot, then run the troubleshooter, then reset the update cache. Example: if your PC has only 3 GB free, clear space until you have 10 GB or more, then try again. In many cases, this takes about 15 to 30 minutes, not counting the reboot circus.

What is KB5094126?
KB5094126 is a Windows 11 update package. Like most KB updates, it may include security fixes, bug fixes, performance work, or feature tweaks. Windows Update should install it on its own. Nice idea. Not always reality.
Honestly, it feels like Windows waits 30 extra seconds just to say, “Something went wrong.” Then it gives you a code like 0x800f081f, 0x80070002, or 0x80070005. Helpful? Barely.
Common signs of the problem
- The update is stuck at 0%, 25%, or 100%.
- Windows says “Install error”.
- Your PC keeps asking for a restart.
- KB5094126 appears again after it “installed.” Rude.
- The update fails with an error code.
Step 1: Do the boring reboot
Yes, it is basic. Yes, it works more often than it should.
- Save your work.
- Restart the PC.
- Go to Settings.
- Open Windows Update.
- Click Check for updates.
If KB5094126 installs now, great. Go get a snack. If not, keep going.
Step 2: Check free storage
Windows updates need room to unpack files. Think of it like moving house. You need floor space before you open the boxes.
Open Settings > System > Storage. Try to keep at least 10 GB free. More is better.
- Empty the Recycle Bin.
- Delete old downloads.
- Remove apps you never use.
- Run Disk Cleanup.
Then try the update again.
Step 3: Run the Windows Update troubleshooter
This tool is not magic. But it can reset broken bits without much effort.
- Open Settings.
- Go to System.
- Click Troubleshoot.
- Open Other troubleshooters.
- Find Windows Update.
- Click Run.
Apply any fixes it suggests. Restart after it finishes. Then check for updates again.
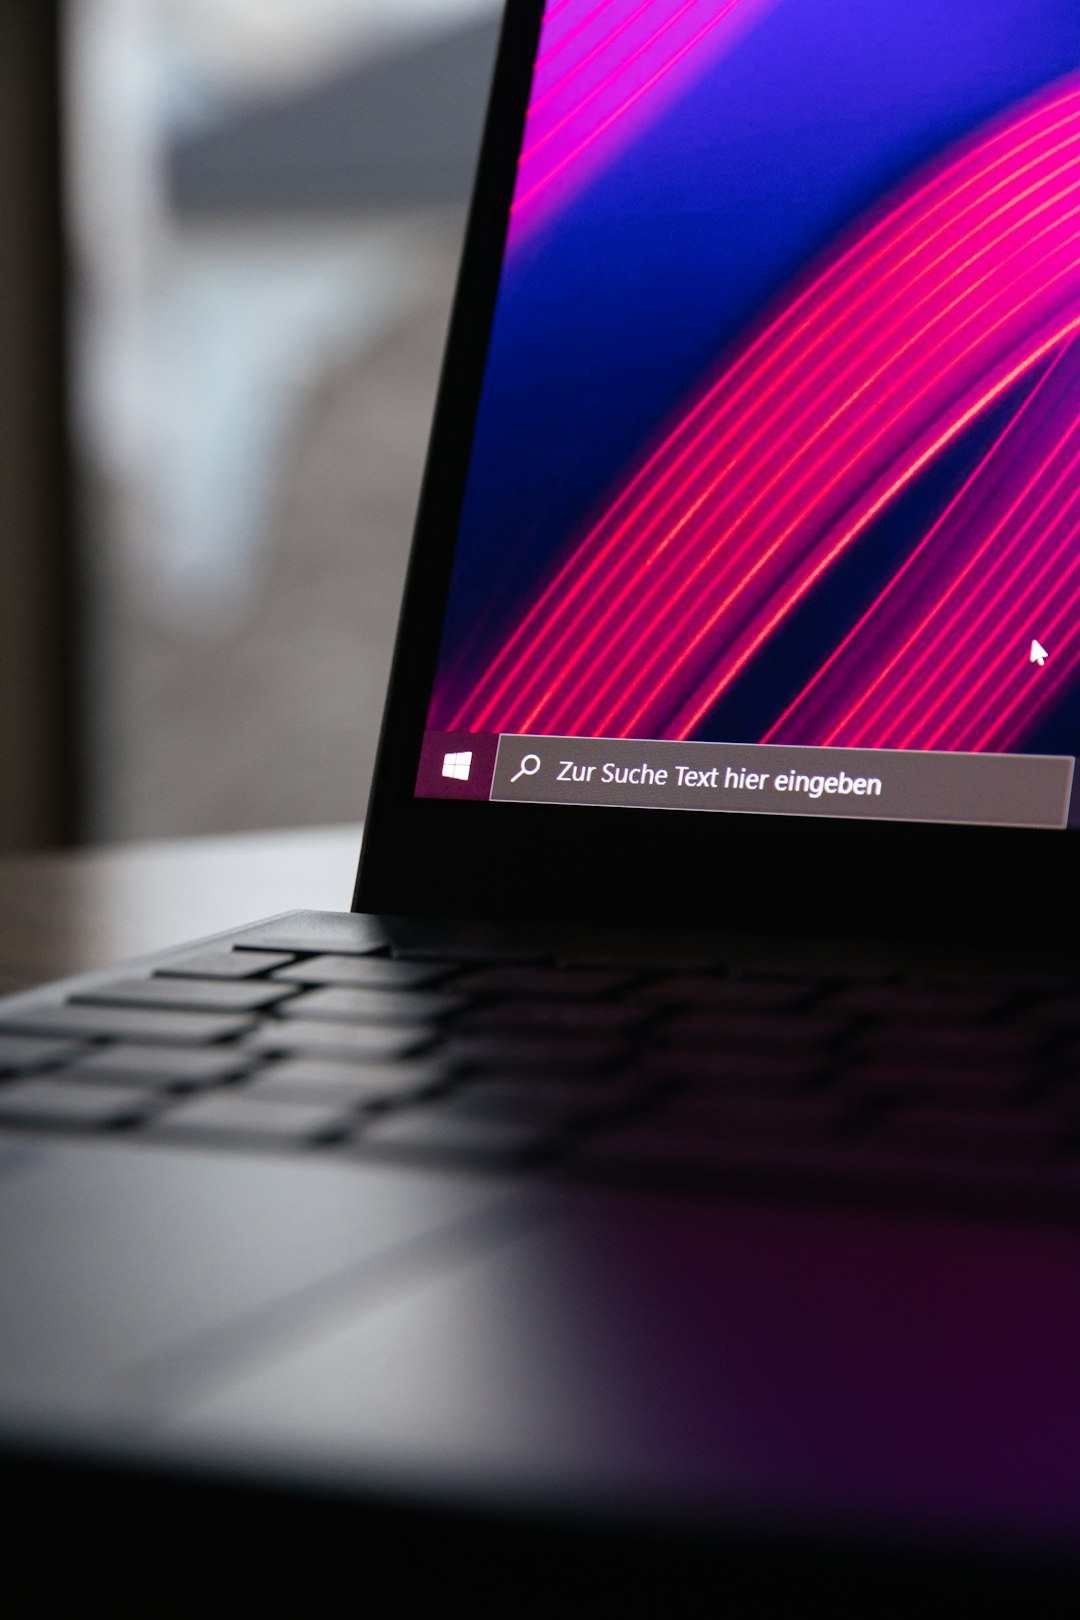
Step 4: Reset the Windows Update cache
This is the “clear the stuck mess” step. It often fixes downloads that loop or fail.
Right-click the Start button. Choose Terminal Admin or Command Prompt Admin. Run these commands one by one:
net stop wuauserv
net stop bits
net stop cryptsvc
ren C:\Windows\SoftwareDistribution SoftwareDistribution.old
ren C:\Windows\System32\catroot2 catroot2.old
net start cryptsvc
net start bits
net start wuauserv
Restart your PC. Then run Windows Update again.
Small warning: The update list may take a little longer to load after this. That is normal.
Step 5: Repair system files
If Windows files are damaged, KB5094126 may fail every time. This part checks the core files and repairs them.
Open Terminal Admin. Run this first:
DISM /Online /Cleanup-Image /RestoreHealthWait for it to finish. It may pause at times. Do not panic.
Then run:
sfc /scannowIf SFC says it fixed files, restart the PC. Try KB5094126 again.
Step 6: Pause antivirus or VPN for a short time
Some security tools block update files. It is annoying, but it happens.
- Pause third-party antivirus for 10 minutes.
- Turn off your VPN.
- Try the update again.
- Turn protection back on right after.
Do not leave protection off all day. That is asking for trouble.
Step 7: Download the update manually
If Windows Update keeps failing, try the Microsoft Update Catalog. Search for KB5094126. Pick the version that matches your system, such as x64 or ARM64.
You can check this in Settings > System > About. Look for System type.
Download the file. Run it. Restart when asked. If the update says it is not for your device, do not force it. Your PC may already have it, or it may not need that package.
How to review KB5094126 installation status
Now check if it actually installed. Do not trust the restart screen alone. Windows can act very confident while doing nothing useful.
- Open Settings.
- Click Windows Update.
- Open Update history.
- Look under Quality Updates.
- Search for KB5094126.
If it says Successfully installed, you are done. If it says Failed to install, note the date and error code.
You can also press Windows + R, type winver, and press Enter. This shows your Windows version and build. It helps confirm whether your system moved forward after the update.
When to stop fighting it
If KB5094126 fails after all these steps, wait a day or two. Microsoft sometimes fixes update issues quietly. That part drives me a little nuts, but waiting can save time.
If you need the fix now, use an in-place repair install of Windows 11. Keep your files and apps. Then try the update again.
Best order: restart, free space, troubleshooter, cache reset, DISM, SFC, manual install. Check Update history at the end. That is the cleanest way to fix KB5094126 and know if Windows actually did the job.